My Other Pages

To make it easier to read about our trip to Ireland, I have made a page that is just for that. There is a tab above for Ireland Trip 2014 or click on the Home tab to read my other posts. I have also created a new page for My Weight Loss Journey if you are interested in that, click on the tab above.
Showing posts with label May Arts. Show all posts

Wednesday, November 30, 2016

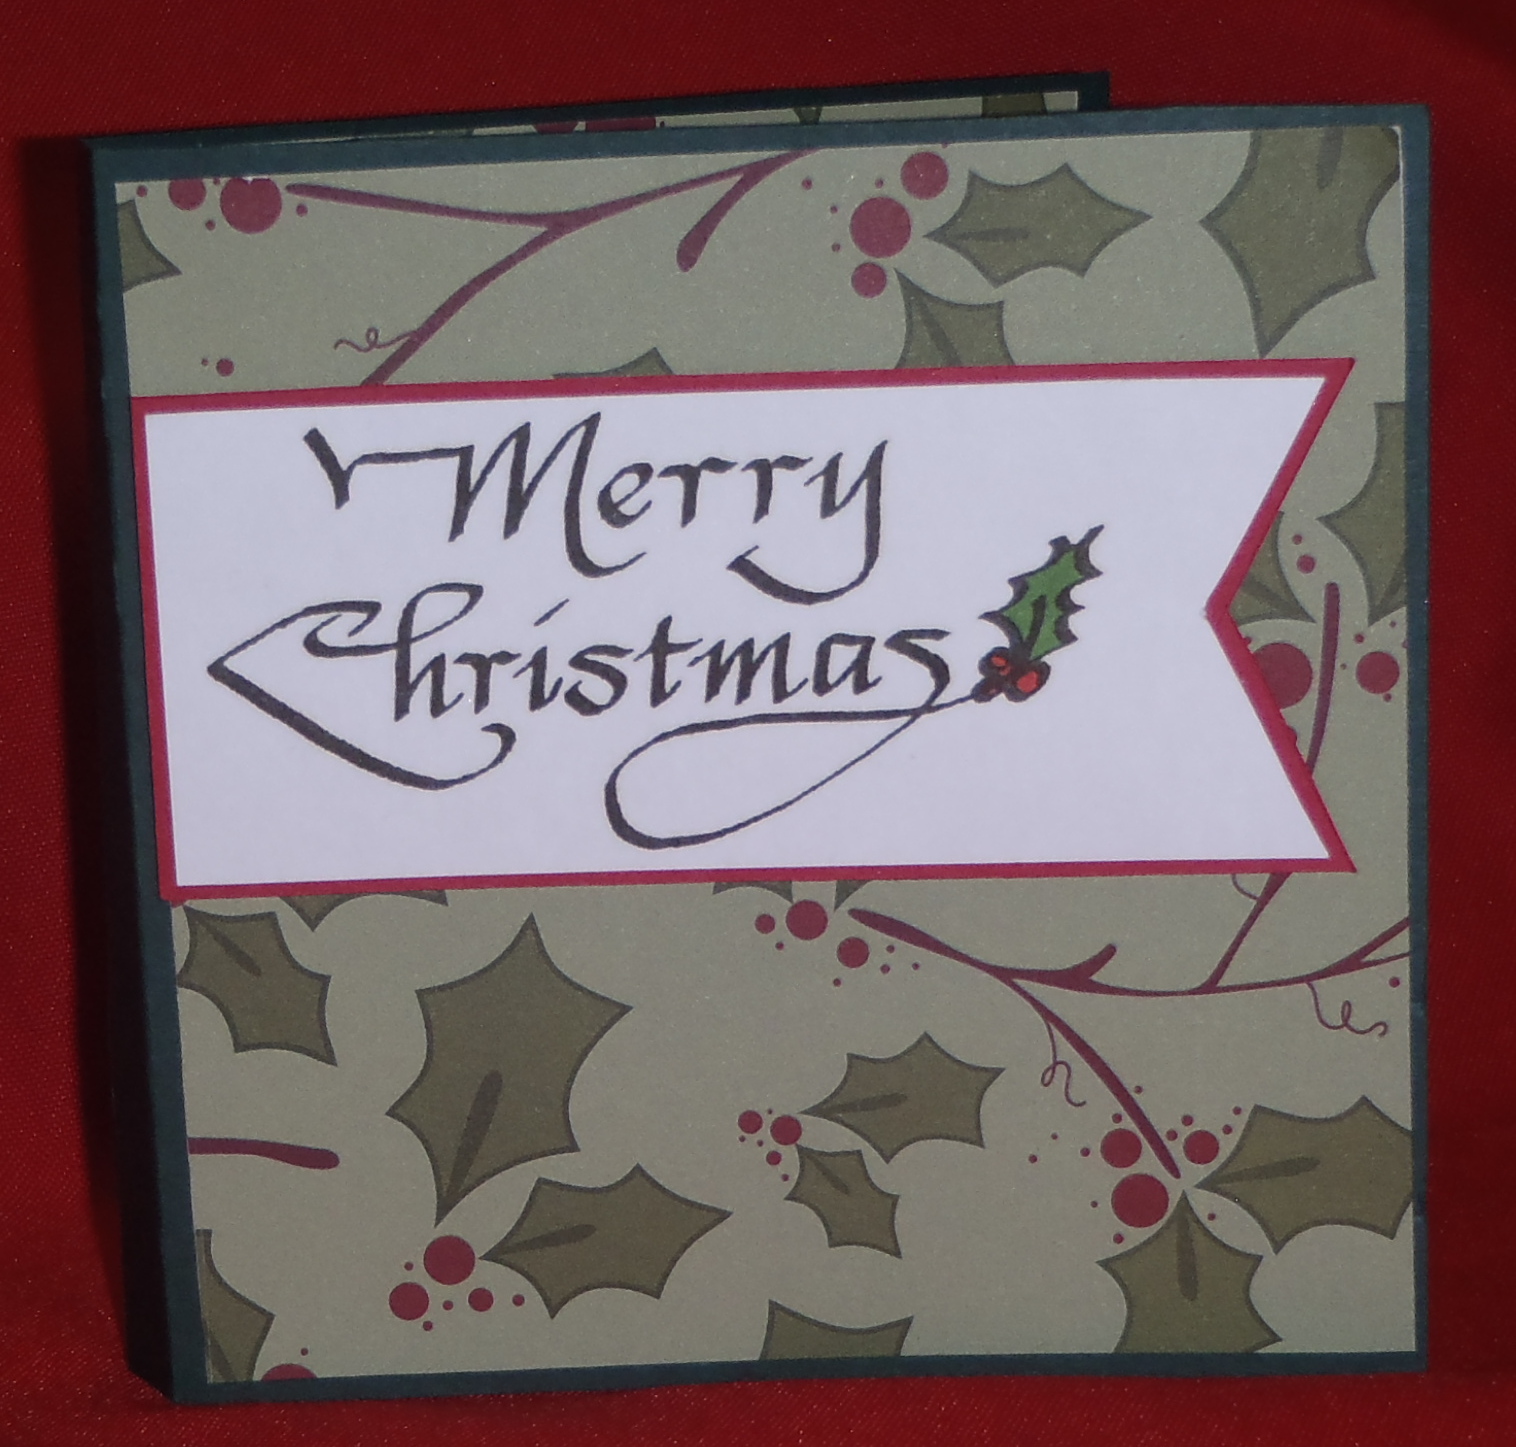
Cards for the Card Drive #5

Hello!
I hope you had a lovely Thanksgiving and
weekend.
Here are a few more cards that I made for the
card drive.
I wanted to use some of my Christmas scraps
and this was the perfect way to do it.
I love this twine from May Arts,
it worked perfect for this card.
These are the only 3 cards I made this style.
I love the style, but it was a bit more time consuming
and when I planned to make 100 cards,
there wasn't enough time for too many of these.
I do love how they turned out though.

Thanks for stopping in,
see you again soon.

Note the links are only to give a reference so you can
see what the products are.
I didn't necessarily purchase from these sites,
except where specified,
and you may find better prices elsewhere,
I am in no way promoting any particular site.

Saturday, December 22, 2012

Christmas gifts

Christmas is very close now
 and I've been working like mad to get things finished.
I've made pretty good headway,
but still have some things left to finish.
One thing that I have done for a few years now,
is a gift I send my Aunt Marilyn in North Carolina.
One of my favorite people in the world
 is my Mom's best friend since she was very young. 
 Mom and Aunt Marilyn have been friends
for about 80 yrs and are like sisters.
A few years back, I came up with the idea
of sending her gift cards for a few different restaurants. 
She loves to go out for a little lunch, even by herself.
When you buy a cheeseburger and a senior coffee,
$10.00 at Burger King will last quite a while.
Each year I have come up with a different way to send them.
Today I'm showing you the gift card holder
 that I created for her this year.
The "Merry Christmas" (#8717) is from
 

On the inside of the card,
I created pockets to hold the different gift cards
that I sent her.
Then I decided that I needed something to put it into,
so I created a box for it.
For the top of the box I used
"Star Tree" (#17105)

I stamped with VersaMark ink and
embossed with gold embossing powder.
I used a Perfect Medium pen
 for the dash marks around the edge
 and again embossed with gold powder.
When I was trying to figure out what to give my Mom,
it occurred to me that she would love some gift cards too.
So that is what I'm giving her,
she loves to go out to eat and
what else do you give an 88 year old woman?
I think she is going to love it.
Here is the box and card I made for her.
I had a little bit of the gold ribbon left from
The May Arts challenge
that I recently participated in, so I used that on the front of the box.

For the card, I again, used "Star Tree"


Here is the inside of Mom's card.
And below is a picture showing how the box opens.
I really enjoyed creating these gifts for my Mom and Aunt.
I'm sure they are going to love them too.
Thanks for stopping by today,
 I hope you have been inspired in some way
and will come again soon.
I'd love to hear what you've been working on,
so leave a comment and let me know.
 
Until next time, Happy Crafting!

Monday, December 10, 2012

All That Glitters Challenge

One of the blogs that I follow faithfully is
They have some fabulous projects and a post every weekday.
Each month there is a challenge and this month I was chosen to participate in the challenge.
Our assigned theme was
(this link will take you directly to the post with all the entries)
We had to use 4 of the ribbons offered in our projects.
I chose to make a variety of gift card holders.
Here is what I did.
I know there are a lot of pictures, so I'm not going to write a lot,
but I will put links at the bottom for a couple tutorials that I wrote up as guest on another blog and I'll try to do a couple tutorials for the other ones at a later date, as they can be altered to work for other occasions.
I hope you'll pop over to the May Arts Blog and take a look at all the entries.


Here are the links for those tutorials:
Now that I have the link I realize that I didn't make one with this design, but here it is anyway.  LOL!
And here is the tutorial for the "twisted" card.
 
Thanks for stopping by today, leave a comment if you will.
Come again soon!
 
Until next time, Happy Crafting!

Thursday, September 27, 2012

Package Tower

Merry Christmas?!?!?!
Yes!  I'm at it again, making Christmas cards.
Today's card is made with
"Package Tower" (#23301) from Eureka! Stamps
I colored this image with FlexMarkers.
I also used a bit of Stickles and Glossy Accents to give some shine, shimmer and sparkle.
The bow is made with some wonderful satin ribbon from May Arts.
I think it adds just the right touch and "wraps up" this card perfectly.
Glad you came by to check out my card today.
Have you started making your Holiday cards yet?
Leave a comment and let me know.
Eureka! Stamps has lots of great images to make Christmas cards with,
stop in and see what you might like to work with.
 
Until next time, Happy Crafting!

Wednesday, September 5, 2012

Leaves

Hello blog friends!
Today I'm showing you a card made with one of my favorite
QKR Stampede images.
"Leaf" (#3901) was one of the first stamps I got from QKR and it has remained one of my favorites.
I stamped the image onto white card stock with VersaMark ink
then embossed them with white embossing powder.
I used Distress inks to color the leaves, then fussy cut them.
The green diamond design was done by positioning a piece of acrylic, inking with Distress ink, moving the acrylic, inking again and so on until I had covered the entire sheet.
It was then cut to size for the card.
The base card is also white card stock and I inked the edges of it also.

Here is a close up of the leaves so you can see the detail a bit better.
The white ribbon is from May Arts Ribbon 
and the button is one from my stash, as is the embroidery floss.
 
I hope you like my card and may be inspired to try some embossing, some inking or maybe just some stamping.
Be sure to hop over to the QKR Stampede store and see all the fabulous image they have to offer in red rubber or digital format.
Also check out the QKR Stampede Blog and see the challenge going on there.  We have a new challenge every week, so pop in and check it out and also see what wonderful things the design team has to show you.
 
Until next time, Happy Crafting!

Saturday, August 4, 2012

Ribbon background

Hello!
On my card today I used some ribbon from May Arts.
I was a lucky winner on their blog a few months back and this is one of the ribbons I chose.  May Arts only sells wholesale from their site, but there is a Store Locator on their site, to find a store close to you, where you can purchase some of their wonderful ribbons.
A while ago, I saw a card with a woven ribbon background and loved the look and had that card in mind when I made this one.
I used:
Lg. Jar and Apples (#23105)
from QKR Stampede
I stamped the image onto white cardstock and colored it with
 FlexMarkers.  I fussy cut the image and used Glossy Accents on the jar to give it the look of glass.

Thanks for stopping by today, leave a comment if you wish
and come back and visit soon.

Until next time, Happy Crafting!

Thursday, July 12, 2012

Coloring partial images

Hello and welcome!

Today's card is made with
"Butterfly and Sunflower" (#20801)
I wanted to do something a little different with this card and decided that I would do this technique where you only color part of the image.
I stamped the image onto a piece of white cardstock cut to a strip smaller than the image.
I colored the image with FlexMarkers.
I then stamped the image onto the peach colored cardstock and adhered the colored image over it to line up exactly.
I think it could be a much more dramatic look with a narrower strip of white, but I wanted to have the entire butterfly colored.
Next time I will probably use a taller image that will have more uncolored on the background cardstock.
The ribbon I used is some lovely satin ribbon from May Arts.
I'm pretty pleased with how this card turned out.
Why not pop into the Eureka! Stamps site and see what images you might want to use this technique with?

Thanks for stopping today, leave a comment if you will
and come again soon.

Until next time, Happy Crafting!

Saturday, May 12, 2012

Believe in Yourself


I have to say that I have been very lucky. 
My friends think I win everything there is to win, but honestly, I don't. 
But I do win some wonderful prizes.

Recently, I was fortunate enough to win a prize pack from the May Arts Blog when they teamed up with Creative Imaginations.  If you click on the Creative Imaginatons link you will see the collection I won.
And believe me the pictures don't even do it justice. 
Everything in the line is just beautiful!
Thank you May Arts and Creative Imaginations!!!

I made this card with one of the papers and a sticker from the sticker sheet.  I added some foam tape to the sticker to give a little demention.
This was a very quick and easy card that I think turned out beautifully!

For some wonderful ideas and tutorials stop in at the May Arts Blog.  They team up with some other wonderful companies and the "ribbonistas" have some fabulous ideas.  Who knows, maybe you'll be lucky and win something too.
This is one of my favorite blog.  Over the last couple years I have found a lot of blogs and have had to narrow it down to the ones I really love to follow and May Arts is one of them.  I check them most every day to see what lovely things they have to show us.  So go check them out!

Maybe the next project I make with this line of paper, I'll use some lovely May Arts ribbon. Just didn't have space for it on this one.

Thanks for stopping by today, leave a comment if you wish, then pop on over and see what's going on at the May Arts Blog.

Until next time, Happy Crafting!