My Other Pages

To make it easier to read about our trip to Ireland, I have made a page that is just for that. There is a tab above for Ireland Trip 2014 or click on the Home tab to read my other posts. I have also created a new page for My Weight Loss Journey if you are interested in that, click on the tab above.
Showing posts with label Versa Mark. Show all posts

Wednesday, September 28, 2016

Inspired by Kristina Werner

Hello!  Hope you are having a beautiful day!
Today I have 2 cards to show you,
they were inspired by 
Kristina is one of my favorite bloggers and artists.
If you haven't discovered her yet, be sure to pop over
and check out her blog, she's really quite wonderful.
Now I have to start by saying that I goofed up both my cards.
This first one I adhered the vellum in the wrong spot for 
the style I was going for, but that's not really a problem,
because I love the way it turned out.
Kristina use a background stamp on her card, but 
I didn't have one large enough with me at the time,
so I used a patterned paper.
You can barely see the patterned paper in the pictures,
but in real life you can see it.  It's a fairly delicate purple pattern.
I cut the shapes on the Cricut from white card stock.
I then embossed them with silver embossing powder.
The sentiment, I did a little differently.
I covered a piece of card stock with Versa Mark ink
and silver embossing powder and heated it.
Once I had that done I used a die to cut out the sentiment.
I arranged all the pieces and glued them on with 
Although this wasn't as I intended it,
I do like how it turned out.
For the 2nd card I decided to go with a Christmas theme.
This one I put together the right way.
The snow flakes were cut on the Cricut,
adhered with Scotch Quick Dry Adhesive
and covered with clear Wink of Stella.
I added a little bling on the centers of the flakes also.
The vellum opens to reveal this striped card front.
This is a piece I had in my stash that I had made a while 
ago when I was experimenting.
I made it using 
and 
I didn't add a sentiment to this panel yet,
I want to see about fixing my goof on this card first.
I'll show that in a bit.
Lastly the front opens at the top and shows the sentiment 
inside the card.
This sentiment is 
from Eureka Stamps.
I put this card together pretty quickly as I was running out of time.
It's not prefect, far from it, but I wanted to post it anyway.
I don't mind showing my mistakes and sometimes I think
it encourages people to try new things and continue trying
until they like the results.
Now for the goof on this card.
Here you go!  
When I was stamping the sentiment inside
the card, I got red ink on one of the snowflakes as well as
on the vellum.  It came off the vellum pretty well, but not that
flake.  Can't get that snowflake off either, that Quick Dry Adhesive
really sticks!
Oh well, it was a quick card and I wasn't crazy about those
flakes anyway.  
Things don't always turn out the way we want them to,
but sometimes they are fine anyway,
and sometimes we just learn from them.
Now, why don't you hop over to
and see what she has to show you.
I'm sure it's something quite wonderful.
Thanks for stopping by today,
I hope you are inspired in some way.
Remember to have fun with whatever you are working on.
Come again soon,
you never know what you'll find on 
Kristie Kreates.

Note the links are only to give a reference so you can
see what the products are.
I didn't necessarily purchase from these sites,
and you may find better prices elsewhere.
I am in no way promoting any particular site.

Saturday, August 20, 2016

Inklipse Blog Hop


Hello crafty people!
Welcome to my blog and to the 
Inklipse Blog Hop!
Simon, has set up a fun blog hop
to bring inspiration from crafters you may not
have known before.
There are some wonderful, generous sponsors
for this hop. Please consider visiting their
online stores and showing your love to them.
have generously provided prizes for this hop.
To be entered to win you will need to:
Subscribe to Simon's blog
Leave at least 3 comments throughout the blog hop
Now that all the particulars are out of the way,
on to my projects.
I have 2 projects to share with you.
The first is a gift card holder/birthday card.
Since I don't have the equipment for a video,
this post is very heavy on pictures.
But hopefully you'll find it worth your time.
Starting with a piece of red card stock  11" x 4 1/4"
score along the long side at 2", 7 1/4" and 7 3/8"
The insert piece is white card stock cut to 6 1/2" x 3 3/4"
score along the long side at 1 3/4" and 6"
Burnish all the score lines.
(If you click on the picture,you can see that there are
actually 2 folds very close together.)
punch a notch 1" from each side on the smaller flap.
Use Washi Tape along the bottom of the small flap,
close to the fold.
The tape should go all the way around the card.
This is not only decorative, but it holds the flap closed.
I used 2 pieces of Washi Tape on my card I think it
gives it a bit more security and also looks more finished.
Place strong adhesive along the small flap of the 
insert piece of card stock.
I used Score Tape, but use whatever works for you.
Line up the edge of the insert right along the 7 3/8" fold.
Use Glue Dots at the corners of the flap that makes
the pocket.  This will make a pocket for the gift card.
The insert can now be slid into the pocket,
the card front will stay closed when 
tucked behind the center flap of the pocket.
To decorate the front of my card,
I cut 4 Happy Birthday sentiments with my 
Silhouette Cameo out of white card stock.
I ran them through my Xyron sticker machine
and layered them on top of one another.
I then coated them with VersaMark ink ,
covered them with silver embossing powder
and heat set them.
The Happy Birthday was adhered directly to the front
of the card.  I also cut some stars and
embossed them, they were adhered with foam tape.
On the inside of the card, I stamped
"Celebrate" which is from a very old
Scrappy Cat  stamp set.
You can see, when you open the card,
the pocket with the gift card pulls out.
Here is a side shot showing how the 
gift card goes down into the pocket.
I think my son will like this card,
I made it for him, we'll be celebrating his
birthday on Sunday.

Now for my 2nd project.
Did you know that you could stamp and use
Distress Crayons on canvas.
This is my first time doing this and I know
I'll be doing more of this technique.
This canvas is very small, only 2 1/2" x 3 1/2"
First it needs to be prepped with Gesso.
The Distress Crayons blend out much better
when it has the base of Gesso.
I used a sponge paint brush,
but you can use whatever is available to apply
the Gesso, or whatever base you might like best.
Since this canvas is mounted on a wood frame,
I had to fill in the back with pieces of cardboard.
This gives a firm surface to stamp onto.
I used my Mini MISTI
to stamp one of the birds from 
onto the canvas with VersaFine Onyx Black Ink
It did take a couple stampings since it was onto canvas.
(The set I have is not this same set, it is one that
I found that has 3 birds, 3 matching dies, a few 
word stamps and an embossing folder.
The set is called Bird Talk.)
I used the Distress Crayons and laid down a little
color around the sides of the bird.
Using my water brush I blended out the crayon.
This is what it blends out to with a little bit of water.
I then added another color and blended that out.
I dried the crayon between layers and continued to 
add color until I was satisfied with how the bird looked.
These are the colors I used for the project.
As you can see I colored some "dirt" under my bird
and "sky" on the rest of the canvas.
The sentiment are words from the 
Bird Talk set.
I did use the fine tip of a black Prismacolor Marker 
to go over the lines of the bird,
as the crayons did dull it a bit.
I'm very happy with how my little painting
turned out, especially for a first time effort.
I hope you have enjoyed my projects and are
inspired in some way.
Thanks for sticking with me through this long post.
Please leave a comment to be entered to win
one of the fabulous prizes on this hop.
Now it's time to hop on to
 blog and see what he has to show us.

Here is a list of all the blogs on the hop.
Kristie Kreates That's me!
Be sure to comment at all the blogs,
leave a little love for the
artists/crafters.
The more blogs you comment on the
more chances you have to win
one of the wonderful prizes from our
generous sponsors.

Thanks for stopping by,
I hope you'll come again soon.
You never know what you'll find on
Kristie Kreates!

Monday, January 13, 2014

Bundle Up It's Cold Outside

Hello crafting friends!
I hope you've been staying warm through the "Polar Vortex"
The theme for this weeks
Eureka! Stamps Challenge
is coincidentally
"Bundle Up It's Cold Outside"
for my card I chose to use
"Snow Background" (#27301) and
"Snow Scene Circle" (#17301)
both from
Eureka! Stamps
 
I stamped Snow Background onto white card stock with
Versa Mark ink and embossed it with white
embossing powder.
I then used Distress Inks to color over the embossed image.
The embossing resists the color leaving snow in a blue sky.
I stamped the Snow Scene Circle onto white card stock and colored
it with water color crayons then fussy cut around the scene.
There are snowflakes around the whole scene, but I cut them out.
The particulars for the challenge can be found on the
I hope you have been inspired and will join
the challenge and check out
 the other inspiration pieces on the blog.
 
Thanks for stopping by today,
I hope you'll come again soon.
Stay warm!
Until next time, Happy Crafting!

Monday, October 21, 2013

Halloween Colors challenge

Halloween is pretty close and this week's challenge is
"Halloween Colors"
I used
"Ghost" (#3904) from
for my card.
I stamped Ghost 3 times with Versa Mark Ink and
embossed them with white embossing powder on
black card stock.
The "Boo" I wrote with a Versa Mark Pen
 and embossed it also.
This was a very simple, quick card to make.
I'm sure you can create something for our challenge too.
You can find all the particulars at the
I hope you'll play along.
Eureka! Stamps has a lot of great Halloween images in both
red rubber and digital format, so hop over and take a look.
 
Thanks for stopping by today.
Come again soon.
 
Until next time, Happy Crafting!

Monday, September 23, 2013

Tag You're It Challenge

Hi Everyone!
Today's challenge from the
is "Tag You're It"
For my card I used
"Snow Background" (#27301)
"Snowman Balloon" (#11805)
"Christmas Balloon" (#16402)
"Reindeer Balloon" (#2606)
All from
I stamped the Snow Background onto white card stock with
Versa Mark Ink and embossed with white embossing powder.
I then sponged over it with Distress Ink.
The embossing resists the ink and remains white.

Each of the balloon images was stamped with VersaFine ink
and colored with water color crayons.


The "baker's twine" is some that I made and had in my stash.
The envelopes were made with green vellum, using my new
There weren't exactly the measurements I needed,
but it was easy enough to do a little figuring and get the right size.
 
Thanks for stopping by today.
I hope you are inspired to create some kind of tag
 and enter our challenge.
Come again soon to see the other tag I created
 
Until next time, Happy Crafting!
 

Monday, May 20, 2013

All White Challenge

Today we have another Eureka! Stamps Challenge.
This weeks theme is
"All White or No Designer Papers"
I love white on white cards,
 but find them very tough to do, so I seldom do them. 
But this time it came together very nicely.
I used "Filigree Background" (#39201) from
I stamped the background on white card stock
with Versa Mark ink and
embossed it with white embossing powder.
I wrapped some lovely May Arts ribbon around the panel.
The paper flowers are hand made for this card
and I put little pearls in the centers.
The entire panel was then adhered to a white card base with foam tape.

I know this is an odd angle,
but I wanted to show the embossed background image. 
It's tough to really show the detail with the
white on white embossing. 
 I hope you can see how really lovely this background is.
I hope you have been inspired in some way
and will participate in our challenge on the
where you will find all the details about the challenge.
 
Thanks for stopping by today, leave a comment if you will
and come again soon!
 
Until next time, Happy Crafting!


Monday, February 4, 2013

Eureka! Stamps Challenge

It's Monday and that means it's time for another
Eureka! Stamps Challenge.
For the particulars, pop over to the
Today's theme is
"Sweethearts"
This is perfect for me, because my nephew just got engaged.
Pat and Vicki have been together for about 9 yrs and we already consider her part of the family.  I always refer to her as my niece.
We are just so happy for them.
I made this card for them using
"Lg. Filagree Heart" (#24601) from
I stamped with VersaMark ink onto some shimmery white paper and heat embossed with gold embossing powder.
I added a bit of ribbon that I got at Michael's the other day.
Below you can see how beautifully the embossing turned out.
Here is a second card that I made with the same stamp and ribbon.
I embossed this one onto white card stock, layered it onto gold vellum and then onto a white card base.
Thanks for stopping by today.
I hope you have been inspired and will join the
Eureka! Stamps challenge.
 
Until next time, Happy Crafting!

Monday, January 7, 2013

Eureka! Stamps Challenge-Make it Sparkle

Hi and welcome to my post for the
This week our theme is
"Make it Sparkle"
For all the particulars about the challenge visit
For my card I chose to use
"Snow Background" (#27301)
"Snowman Balloon" (#11805)
"Snowman To and From" (#23705) and
"Hi!" (#digi4506)
 For the background I stamped
"Snow Background"
onto black card stock with VersaMark ink. 
I heat embossed it with clear embossing powder.
I got some fine craft glitter ready then reheated the embossing,
while it was still hot, I sprinkled it with the glitter.
Since the embossing is hot, it is sticky and the glitter sticks to it.
Both of my snowmen are only parts of the image.
The smaller snowman is
"Snowman Balloon"
I stamped him onto white card stock,
colored him with FlexMarkers,
used a glue pen to cover him with glue,
added Sticky Powder
(also available through Eureka! Stamps)
heated it and while it was hot and sticky,
I added glitter. 
I fussy cut the snowman,
cutting off the bottom, gathered part of the balloon.
I used the same process to make the larger snowman from
"Snowman To and From"
and fussy cut the parts that I wanted to use.
I adhered the snowmen to the black background,
 then layered it onto a white card stock base.
The "Hi!" was printed onto white card stock
from my computer and cut to size, dash lines added
 then adhered to my card.
I hope you can see all the sparkle and shine on this card.
And I hope you won't be afraid to use glitter,
it really perks up a card or project.
Thanks for stopping by today,
I hope you have been inspired
and will join in the fun of the
Eureka! Stamps Challenge.
There is plenty of inspiration from our design team,
so I hope you will take a few minutes
 to check out their blogs and leave a little love
for them while you are there. 
We all love getting comments!
Come again soon!

Until next time, Happy Crafting!


Saturday, December 22, 2012

Christmas gifts

Christmas is very close now
 and I've been working like mad to get things finished.
I've made pretty good headway,
but still have some things left to finish.
One thing that I have done for a few years now,
is a gift I send my Aunt Marilyn in North Carolina.
One of my favorite people in the world
 is my Mom's best friend since she was very young. 
 Mom and Aunt Marilyn have been friends
for about 80 yrs and are like sisters.
A few years back, I came up with the idea
of sending her gift cards for a few different restaurants. 
She loves to go out for a little lunch, even by herself.
When you buy a cheeseburger and a senior coffee,
$10.00 at Burger King will last quite a while.
Each year I have come up with a different way to send them.
Today I'm showing you the gift card holder
 that I created for her this year.
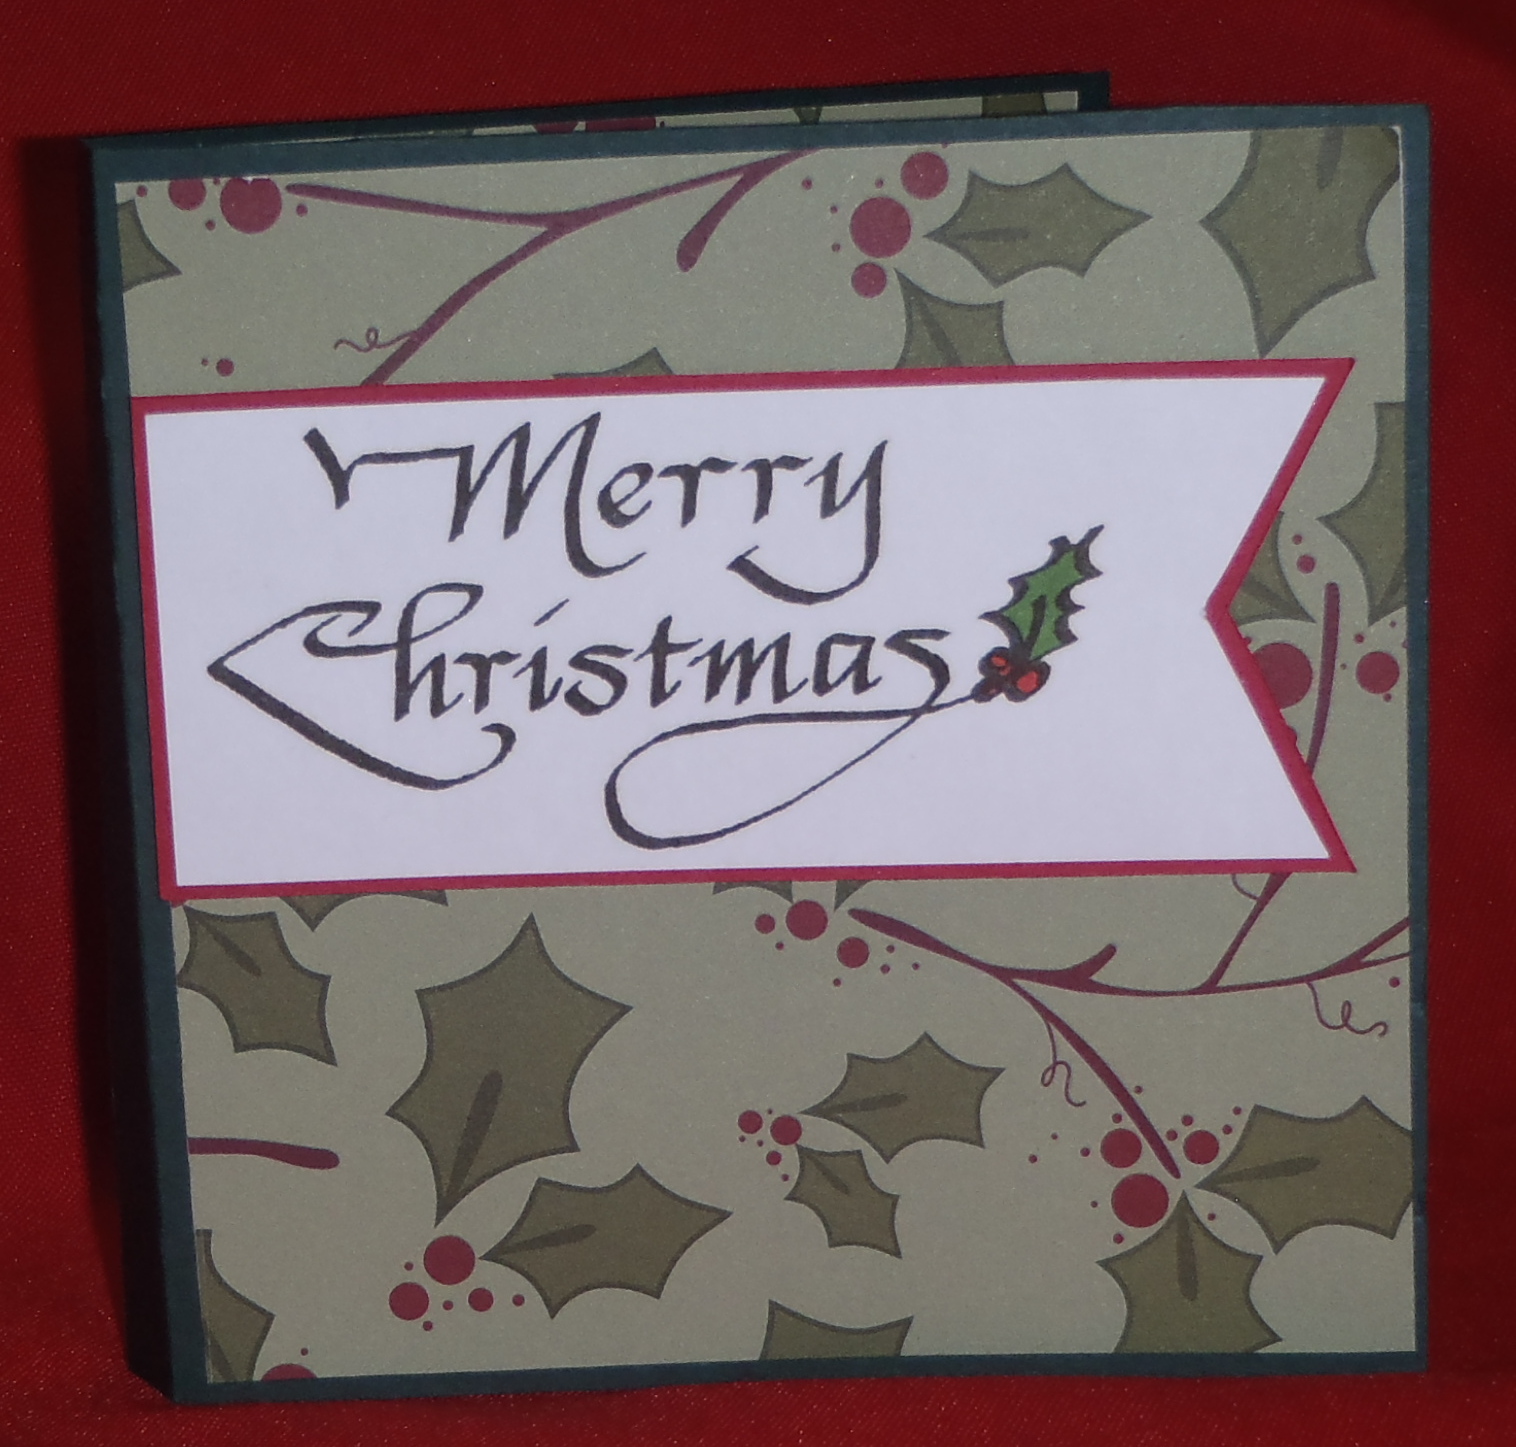
The "Merry Christmas" (#8717) is from
 

On the inside of the card,
I created pockets to hold the different gift cards
that I sent her.
Then I decided that I needed something to put it into,
so I created a box for it.
For the top of the box I used
"Star Tree" (#17105)

I stamped with VersaMark ink and
embossed with gold embossing powder.
I used a Perfect Medium pen
 for the dash marks around the edge
 and again embossed with gold powder.
When I was trying to figure out what to give my Mom,
it occurred to me that she would love some gift cards too.
So that is what I'm giving her,
she loves to go out to eat and
what else do you give an 88 year old woman?
I think she is going to love it.
Here is the box and card I made for her.
I had a little bit of the gold ribbon left from
The May Arts challenge
that I recently participated in, so I used that on the front of the box.

For the card, I again, used "Star Tree"


Here is the inside of Mom's card.
And below is a picture showing how the box opens.
I really enjoyed creating these gifts for my Mom and Aunt.
I'm sure they are going to love them too.
Thanks for stopping by today,
 I hope you have been inspired in some way
and will come again soon.
I'd love to hear what you've been working on,
so leave a comment and let me know.
 
Until next time, Happy Crafting!