My Other Pages

To make it easier to read about our trip to Ireland, I have made a page that is just for that. There is a tab above for Ireland Trip 2014 or click on the Home tab to read my other posts. I have also created a new page for My Weight Loss Journey if you are interested in that, click on the tab above.
Showing posts with label backgrounds. Show all posts

Sunday, July 31, 2022

Dendritic Printing

Hello crafty people!
I hope you are having a wonderful summer, or 
winter as the case may be.  Hopefully you're having great
weather where you are.
Yes, it's another "I found this while reorganizing" post.
These are dendritic prints that I made and never used
for anything.  I love finding things like this, it gives
 me something to ponder and play with.
It's really quite an easy process and you never know what
you'll end up with.
First thing is to pick a color, or two if you like
of paint.
Put some paint onto a slick surface and spread it out with
a paint brush or your fingers.
I usually use glass, but this one above was done on
a stamping block.
Next take another piece of glass or whatever you have that works,
and press down on top of that paint.  
You can even use a stiff piece of plastic, or a laminated 
piece of card stock.
As you press down on the top piece, you will be 
'smooching' out the paint and when you pick it up,
you'll have a very unique look.
Now is the time to lay your card stock or paper 
down onto the paint.  Just lay it down pressing very lightly
 and lift it up and you have an interesting design that you can use
for the background of a card, a tag or whatever
you like.
You never know what it will look like
Here is a link to a video by 
Nina Ribena who I follow on YouTube
and participate in her facebook group,
"Mixed Media Emporium with Nina Ribena

I'm glad you stopped in today and hope you will 
give this technique a try.
It's another oldie, but goodie.
Come again soon,
until then,
try a new technique!

Watch for a post in the near future showing ways
I've used these prints.


Sunday, March 29, 2020

Flowers and Hearts

Hello crafters!
Today I have some cards and book marks to show you.
I recently saw a video, I'm sorry I don't know whose 
it was, and she made flowers with hearts.
I took the idea and went with it and here's what I 
came up with.
I used scrap pieces of backgrounds that I made with
alcohol inks.
Some hearts I punched, but most of the large ones
I cut freehand.


Thanks for coming by today.
I hope y'all are doing well and keeping
yourselves busy during this health crisis.
Maybe you can use up some of your scraps
to make some cards or book marks like these.
You can use any kind of paper and they 
will turn out cute.
Until next time,
stay safe, stay healthy and stay busy.

Tuesday, March 24, 2020

Doodling

Hello!
I hope you are all staying safe and healthy.
We are staying home and our daughter is working
from home now.
I know this is a tough time for everyone and I
hope coming to visit my blog is helping
to keep you from boredom and maybe gives you 
some inspiration.
Recently I've started to do some doodling and today
I'm showing you a little bit of what I've been doing.
I have a lot of backgrounds in my stash and decided to 
do a bit of doodling on some of them.
This background was one I made with some
white alcohol ink along with some colored ones
on black card stock.  I'm not crazy about this
doodle, but remember I'm just learning and messing
around with it.
Alcohol inks on card stock.
Also alcohol inks on card stock,
I thought this looked like a hippo, so
I outlined it.
This is watercolors on watercolor paper.
I know these aren't fabulous pieces of art, but the
point is that I'm having fun with it and I'm hoping
that with time I'll get better at it.
There are lots of videos on YouTube showing
how to do doodling.
It's a fun and easy way to relax, give it a try.

Thanks for stopping by, hope you'll
come back again soon.
Until then, stay safe and stay healthy!


Saturday, November 30, 2019

Shaving Cream and Alcohol Ink

Hi All!
Today I'm going to show you the process I used to 
make some fun paper for crafting.
I use them for backgrounds for cards, scrapbook layouts
elements for cards and anything else that strikes my fancy.

I got a inexpensive aluminum sheet, shaving cream and
a spatula from the Dollar Tree.
I put a good amount of the shaving cream on the 
aluminum sheet.
Using the spatula, I smoothed it out.
I then dropped Alcohol Inks onto the shaving cream
and used a plastic knife to run through the ink to spread it 
a little bit.
It's hard to see the paper here, I used Deli paper
for this print.  I just laid the paper on top of the
shaving cream and smoothed it over the surface,
to be sure it was in contact with the ink.
Any type of paper can be used for this,
For this session, I used deli paper, white card stock,
white mulberry paper and colored mulberry paper.
When I picked up the paper, I scrapped off the
extra cream and left the paper to dry.
You never know what your print will look like.
This one is very subtle.
I added a bit more ink,
ran the knife through it again,
and made another print,
this time on plain white card stock.
When I scrap off the extra shaving cream from the
paper, I put it at the side of the pan,
it can be used again.
I smoothed out the shaving cream and added more 
inks to make other prints.
As you lift the papers off, the colors meld more each time.
I love the way these papers turn out.

When I wanted to change the colors, I mixed what I had
in the pan and ended up with a light color.
I then added new colors and went on making prints.
This is a different pan of shaving cream,
that I was playing with, but I found it works better on
a flat one like the one above.
Depending on how much ink is in the shaving cream and the
color of it, you may get some over all color on your 
papers, but with some colors that didn't show up at all.
It's all an adventure where you never know what you'll end up with.
Here are some of the pieces I ended up with.
I did quite a few on plain card stock.

some on deli paper


In this one above, you can see a light pink in the
background.  For this one, I had mixed the shaving 
cream and it ended up pinkish, I added other colors to it
and when I pulled them, they had absorbed a bit of the 
pink from the mixed in ink.
Most of the time the mixed in color didn't show up,
but for this it did.
This is one of my favorite pieces and I've already used
it for a project.
I tried yellow mulberry paper
and orange
and green.
These next two were done on a white mulberry
paper that doesn't have a lot of fiber that is noticeable
Thanks for stopping in today.
I had a lot of fun making these background pieces
and I hope you'll give it a try too.
See you soon.
Until then,
think outside the box!


Wednesday, June 27, 2018

Father's Day

Hello all!
I know this is really late for Father's Day,
but I wanted to share this card I made for my husband.
It, obviously, could be used for any occasion,
with just a different sentiment.
Recently I have been spending a lot of my 
crafty time making backgrounds for my stash.
One of the techniques I've been doing a lot is
using alcohol inks, dropping them onto different
papers and seeing what I get.
There are many techniques that you can use to
make different patterns.
For this one, I dropped ink onto a piece of vellum.
I used blending solution to help the inks flow and mix.
When most of the ink was dry, but there were spots
that were still a little tacky, I applied 
The foil adhered to the tacky ink creating 
shiny blue areas on the background piece.
I wrapped the vellum background around a
piece of white card stock to make it more sturdy
then adhered it to a white card base.
The sentiment was stamped with 
Here you can see where the blue foil has adhered to the 
ink, giving a metallic shine.
I've been having so much fun creating backgrounds 
for my stash, I've built up quite a collection.
Now I just have to get to work making cards and
other projects with them.

Thanks for popping in to check out what I've been up to.
Come again soon,
you never know what you'll find on
Kristie Kreates!


Note the links are only to give a reference so you can
see what the products are.
I didn't necessarily purchase from these sites,
except where specified,
and you may find better prices elsewhere,
I am in no way promoting any particular site.


Wednesday, May 11, 2016

Spray backgrounds

Welcome!
I don't know about y'all, but I do love getting messy
now and then.
While visiting my friend, Mary, I did just that.
Funny how when ever I visit her, we get into something
messy with inks or sprays of some kind.
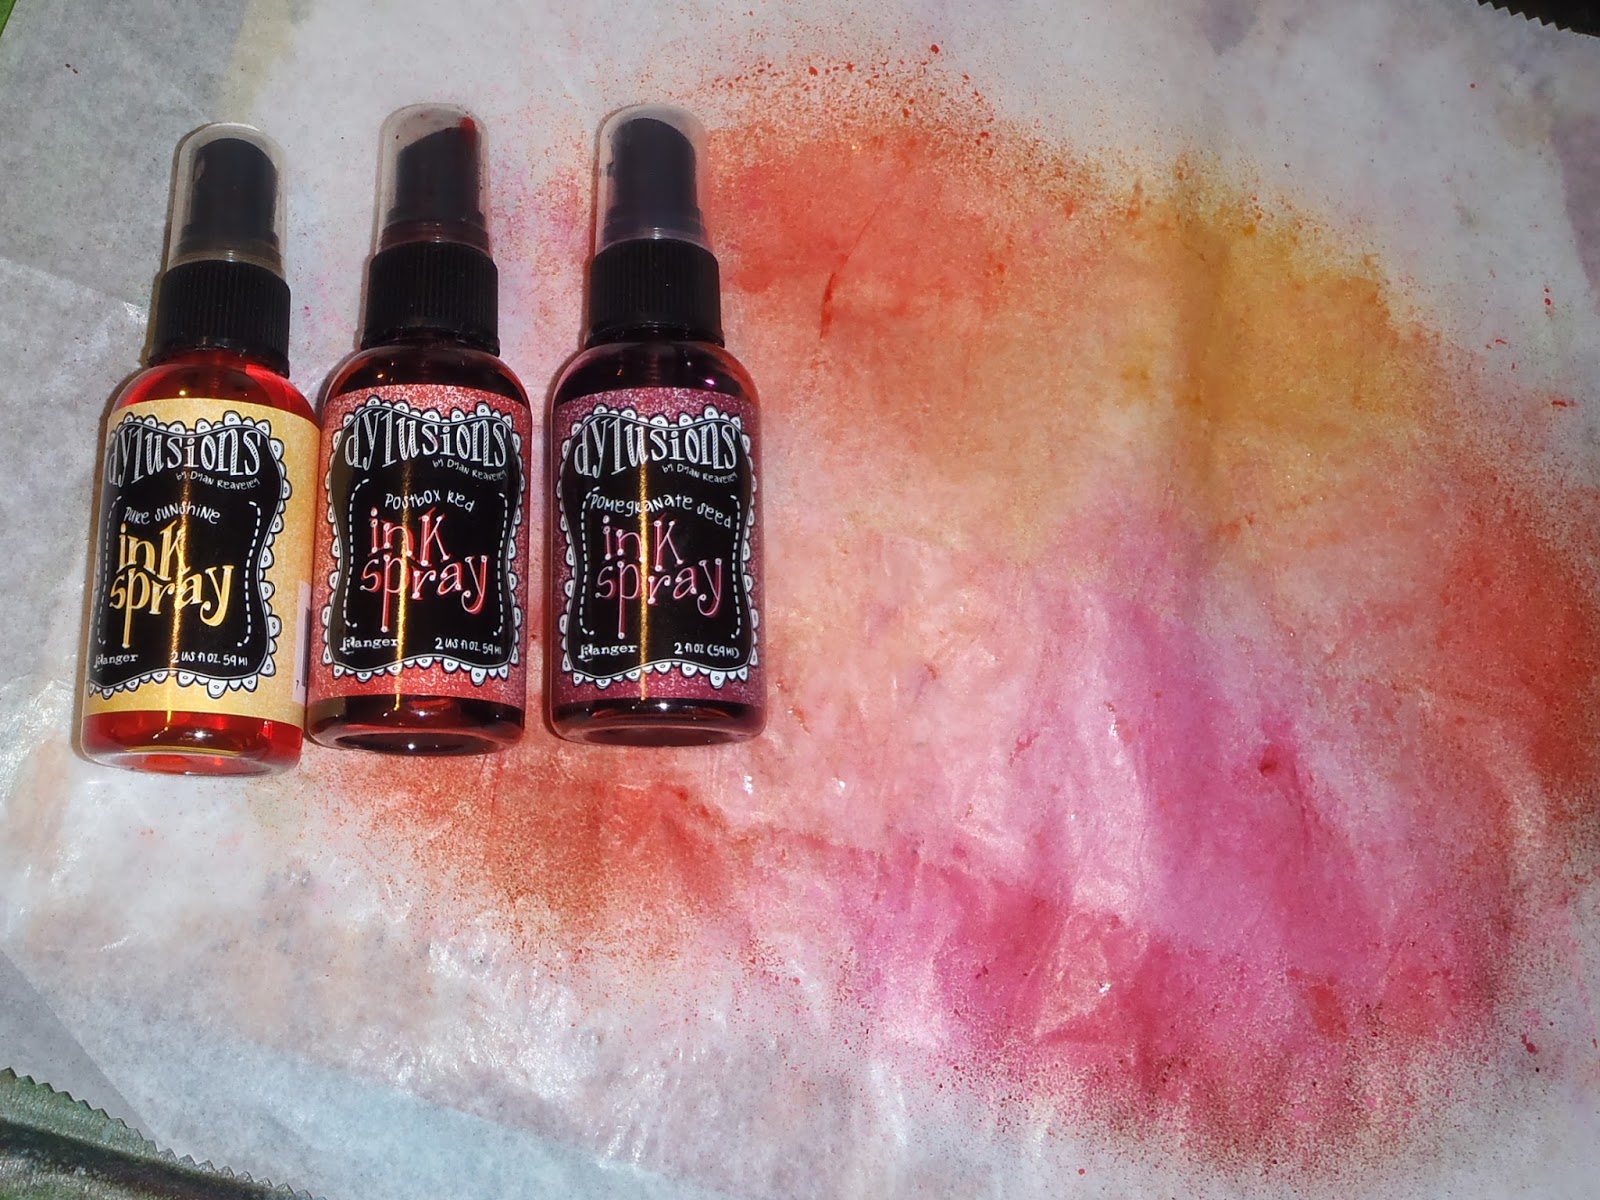
Here's what I used
Dylusions Ink Sprays, a spray bottle of water, deli paper
and white card stock.
Mary has an old cookie sheet that she uses for projects like this,
I put a piece of deli paper on the cookie sheet and sprayed it
with the Dylusions spray.
After spraying 3 different colors on the deli paper,
I sprayed it with water.
For this one I used Pomegranate Seed, Postbox Red and
Pure Sunshine.
You can see how the water blends with the ink and beads up.
Next I placed a piece of white card stock onto the ink.
This is what I got when I picked up the paper.
The white areas are where there were folds in the 
deli paper.
I laid another piece of card stock down to pick up 
more of the ink and this is the result I got.
I ended up with this pretty mix on the deli sheet
once I was done soaking up the ink.
I can use this for more backgrounds.
Next I used After Midnight, Lemon Zest and Polished Jade.
I used the same technique.  Love these colors together!
After I soaked up most of the ink with some card stock,
I spritzed the inks again and folded a piece of card stock
into the deli paper.
This is the result I got.
I sprayed even more water and soaked up ink from 
all over where ever it was wet.
And I got a pretty pastelish (is that a word) background.
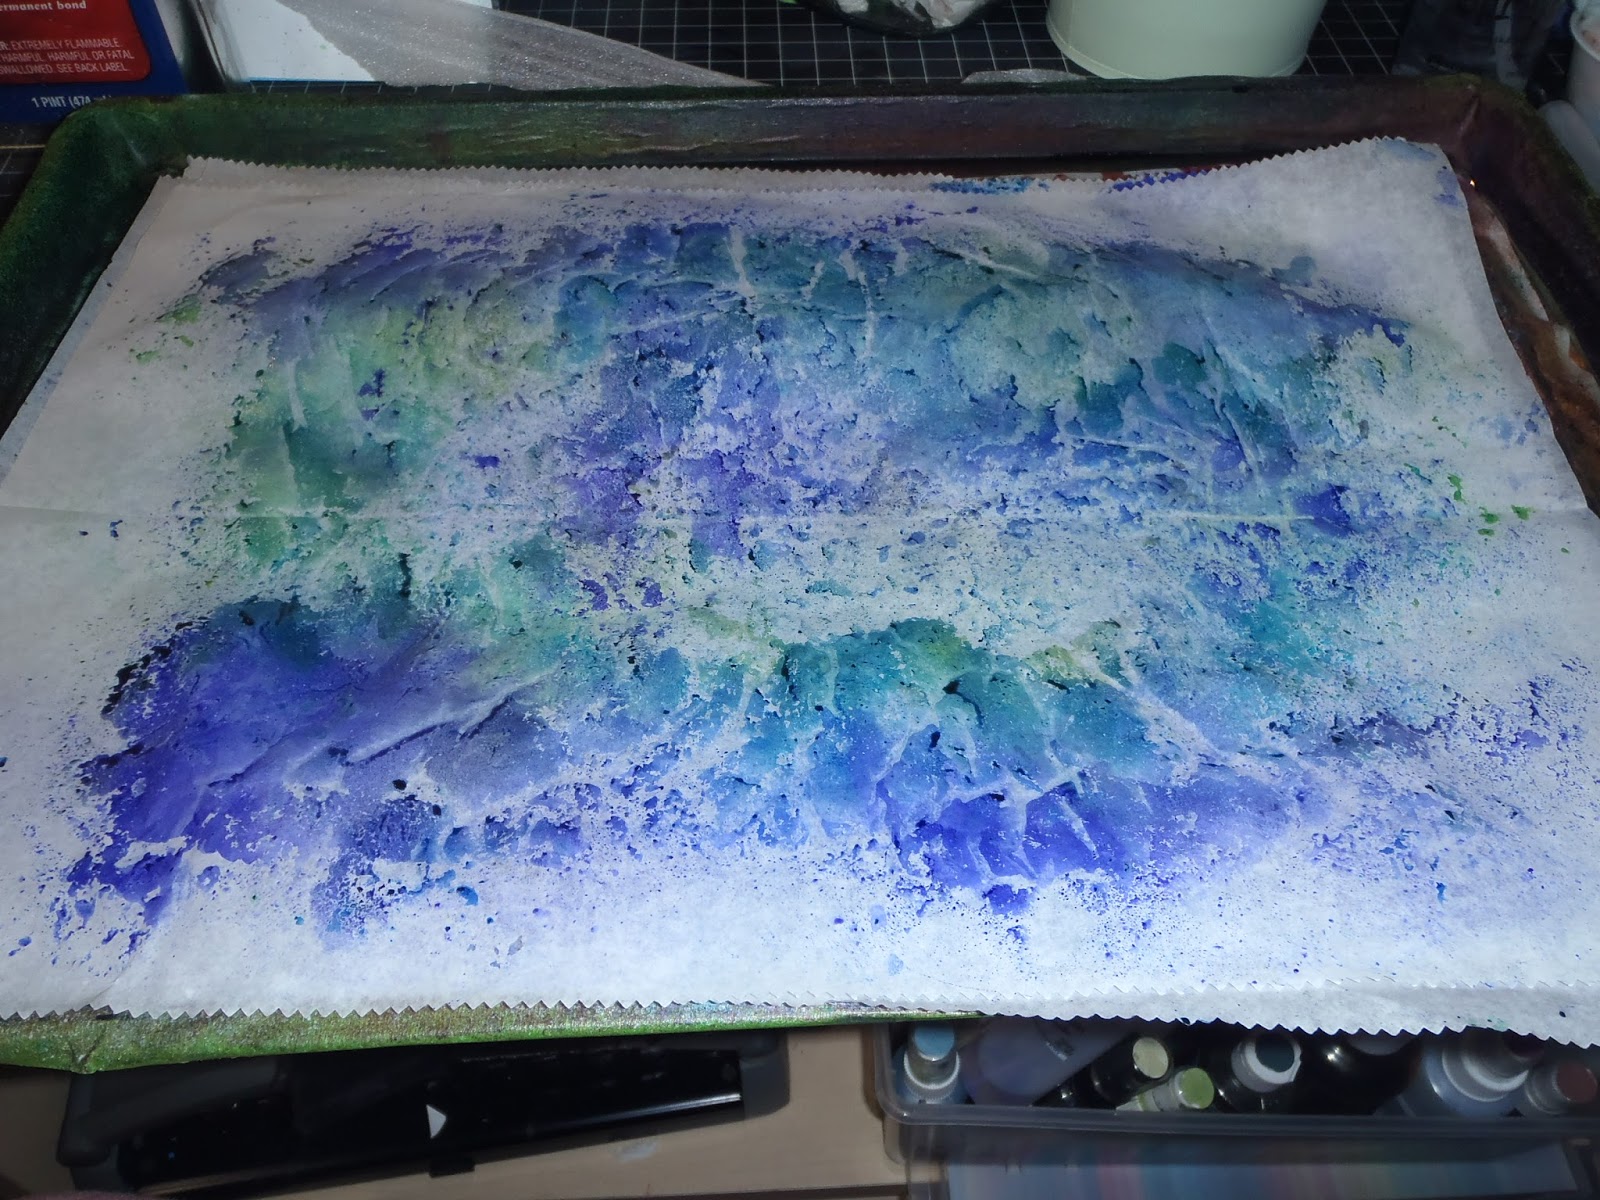
My last combination was After Midnight, Vibrant Turquoise
and Fresh Lime.
I played around with the deli paper after I made some
card stock backgrounds.
I laid another sheet of deli paper over the inks and picked
up what I could, this is the results.
I will use all these deli papers to create more backgrounds.
Below are the card stock pieces that I created.
They are going to make some beautiful cards.


I'm not sure what happened to that lower right corner piece,
I suspect that somehow I dripped some rubbing alcohol onto 
it when I was cleaning up.  Kind of an interesting splotch,
don't know how I can incorporate it, so I'll probably end up
covering it with something.
Never know what I'll end up doing with these,
but I do love how they turned out.

I'm glad you stopped by today,
I hope you are too.
Come again soon,
you never know what you'll find on
Kristie Kreates.