My Other Pages

To make it easier to read about our trip to Ireland, I have made a page that is just for that. There is a tab above for Ireland Trip 2014 or click on the Home tab to read my other posts. I have also created a new page for My Weight Loss Journey if you are interested in that, click on the tab above.

Tuesday, September 20, 2016

Snack container

Hello!
Quick post today.
My great nephew is going to Disney for the first time
next month.  Tonight his Mom brought him over so
I could cut some Mickey heads on my Silhouette.
They will be decorating the window of their room 
for Halloween with them.
I stopped at the Dollar Store today and picked up this 
little snack container.
I wanted a plain one to put Mickey on, but they didn't
have any, so I got the Minions.
I used my Silhouette to cut his name from vinyl
using the Mickey font.
I think it turned out cute.
Would have liked Mickey better, but ya gotta 
work with what you can get, right?
Thanks for stopping by today,
come again soon.
Until then, Happy Crafting!

Sunday, September 18, 2016

Pop Up Panel Cards

Hi blog friends!
Today I'm excited to show you a 
couple really cool cards.
(click on the pictures to see them larger)
I saw a video on another blog the other
day and had to try making some
"pop up panel cards"
(I'll link to that video below)
First I wanted to make a
get well/ encouragement card.
For the front of the card I stamped 
Eureka Stamps.
I colored it with colored pencils and
fussy cut it.
When I added it to the front of the card,
I used Glue Dots on the body of the butterfly
and put a couple layers of foam tape
under the wings to give dimension.
The exciting part comes when you open the card
and a panel pops out.
The sentiments are from
The little flowers are from
TaDa Creative Studios
I have no idea if it is available any longer.
I decided that I should also make a Christmas card
with a pop up panel inside.
I used card stocks from my stash.
Sorry I don't know the name of the stamp set I used
for this card.
The dotted border stamp that I used along the left side
All the stamped images were stamped with 
On this card I didn't use as many layers and it
still turned out beautifully.
I weighed each card and this one would be able to 
go through the mail on a regular stamp,
the other one is much heavier with the extra 
layers of card stock and would need extra postage.
For an excellent video on how to make this style of card

Thanks for stopping by today.
I hope you have found some inspiration here
and maybe you'll give this style of card a try too.
I hope you'll stop by again soon.
Until next time, Happy Crafting!

Note the links are only to give a reference so you can
see what the products are.
I didn't necessarily purchase from these sites,
and you may find better prices elsewhere.
I am in no way promoting any particular site.


Wednesday, September 14, 2016

Masked Sentiment

Hello all!
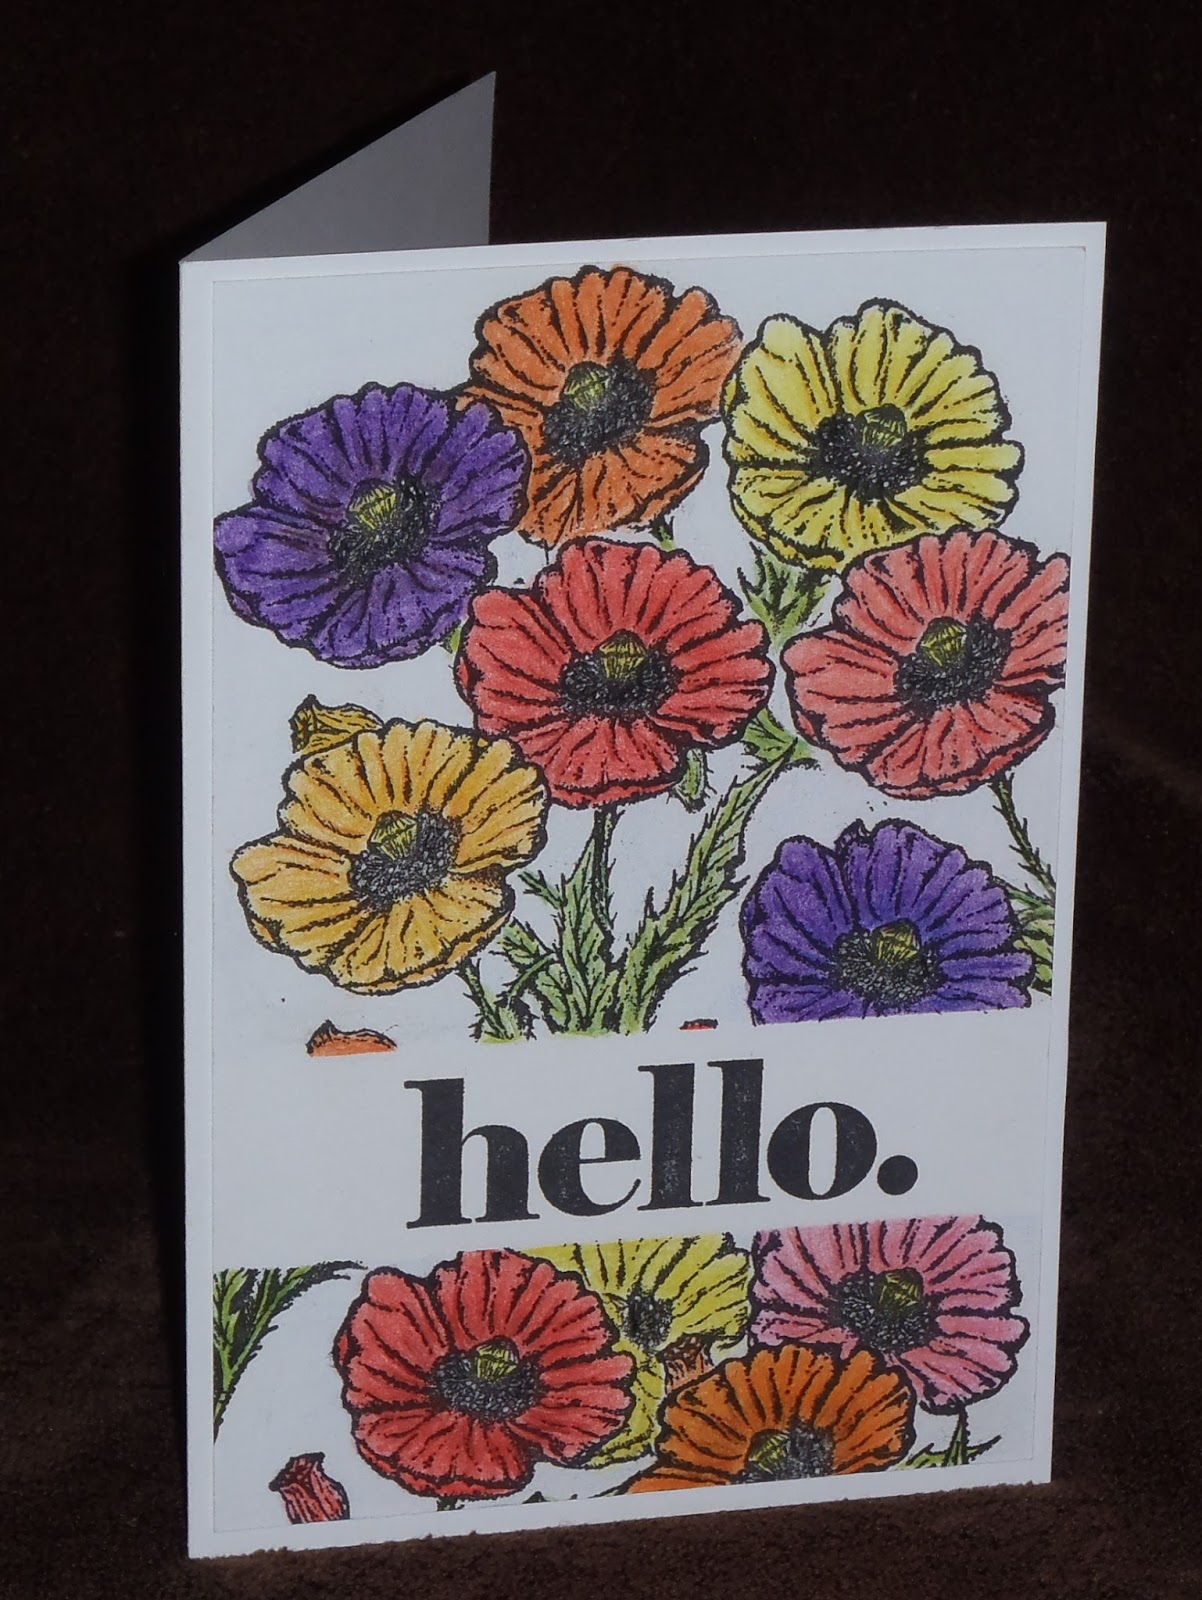
Today I have a card to show you that I used 
a couple masking techniques on.
Unfortunately I didn't take pictures of all of 
it, but hopefully I'll explain it so you understand.
The first thing I did was stamp the
"hello." 
onto the card stock panel.
I then applied a piece of Post-It Tape
directly over the sentiment.
I'm loving this tape,
it's great for masking, comes off easily
and doesn't damage the paper.
Next I began stamping the flowers.
I cut a few stamped images from
and applied them over the flowers.
Everywhere there is a flower in the background
there was a mask over the flower in the foreground.
Once I had all the flowers stamped, 
I removed the masks and colored 
all the images with colored pencils.
I used a very light blue to color the 
background of the panel.
I then adhered it to a white card base.
Inside I stamped
this sentiment.
I don't know what companies made any of these stamps.
They are all stamps that I found in my stash.
Thanks for stopping by today,
I hope you have found some inspiration here
and will come again soon.
Until next time, Happy Crafting!

Saturday, September 10, 2016

Smile card.

Hello blog friends!
A little while ago, I posted about winning
Today I have a card that I made with some of
those supplies.
The stamps I used on this card are from
The foliage is from the
for all my stamping.
For the sentiment I used
on the inside I used the sentiment that says
"it's the one thing that always fits
no matter how many cookies you eat"
For the edge I used 
I love this angled die and the "stitching" it
leaves along the edge.
I added a few bits of bling from my stash and
adhered the panel to a card base and it was done.
A simple card, easy to make, quick to put together.

Thanks for stopping by today.
I'll be playing some more with my "winnings" 
so be sure to come back soon.
You never know what you'll find on 
Kristie Kreates.

Wednesday, September 7, 2016

Veils and Vengeance

I have a new post up on
Mashed Potatoes and Crafts
Pop over and see which craft idea
I've posted from
"Veils and Vengeance"
I love Rachelle's books and 
recommend them for a fun,
entertaining read.
Now pop over and take a look!
See you next time,
you never know what you'll find on
Kristie Kreates!

Friday, September 2, 2016

Real Beauty

Hello visitors!
Today I have a layout that I'd like to show you.
I happened to find some 12" x 12" watercolor paper a
few weeks ago and snatched that right up.
It is Master's Touch which is the
Hobby Lobby brand.
I have wanted to do some stamping and watercoloring 
on some scrapbook layouts, but hadn't seen any of the right 
sized watercolor paper.
I decided to do a layout of my beautiful daughter.
She is not only beautiful on the outside, but on the
inside also.
Here is the layout I made.
The pictures and the title are both matted with some
green paper from my stash, it matches nicely with the
ink I used ,which was
The rose stamp I used is
and were stamped with Versa Fine Onyx Black ink
which is water proof, so is perfect for watercoloring.
I colored all the roses with watercolor crayons.
I have 2 brands, Lyra and Neo-Colors
I love using watercolor crayons, they blend so beautifully.
The "baby's breath" is
I used my MISTI tool to do all the stamping
and it worked beautifully.
I hope you will try doing some stamping and/or watercoloring on 
your scrapbook layouts.
Thanks for stopping by today,
come again soon.
Until next time, try something new!

Thursday, September 1, 2016

New goodies!

Hello Crafty friends!
I have been very lucky recently.
First I got an e-mail from Jennifer McGuire that I 
had won a gift certificate from her for
My Favorite Things
on her blog.  I was so excited,
I love shopping when I don't have to pay for it and
there were some dies that I'd been wanting!
Here are the 2 die sets that I got with my gift certificate.
they are:
and
The GC was for $25, so I did have to pay a little bit,
but not much for a couple great sets of dies.
Can't wait to get some time to play with these!
Thanks to Jennifer and My Favorite Things!
Then I got an e-mail from Julia that I had won a gift 
certificate on her blog
This was for 
This GC was for $100!
YES!  That's what I said, $100
A big thanks to CAS-ual Fridays Stamps
and Julia.  I had a ball spending that on some wonderful 
stamps and dies.
Here's what I got with that GC.
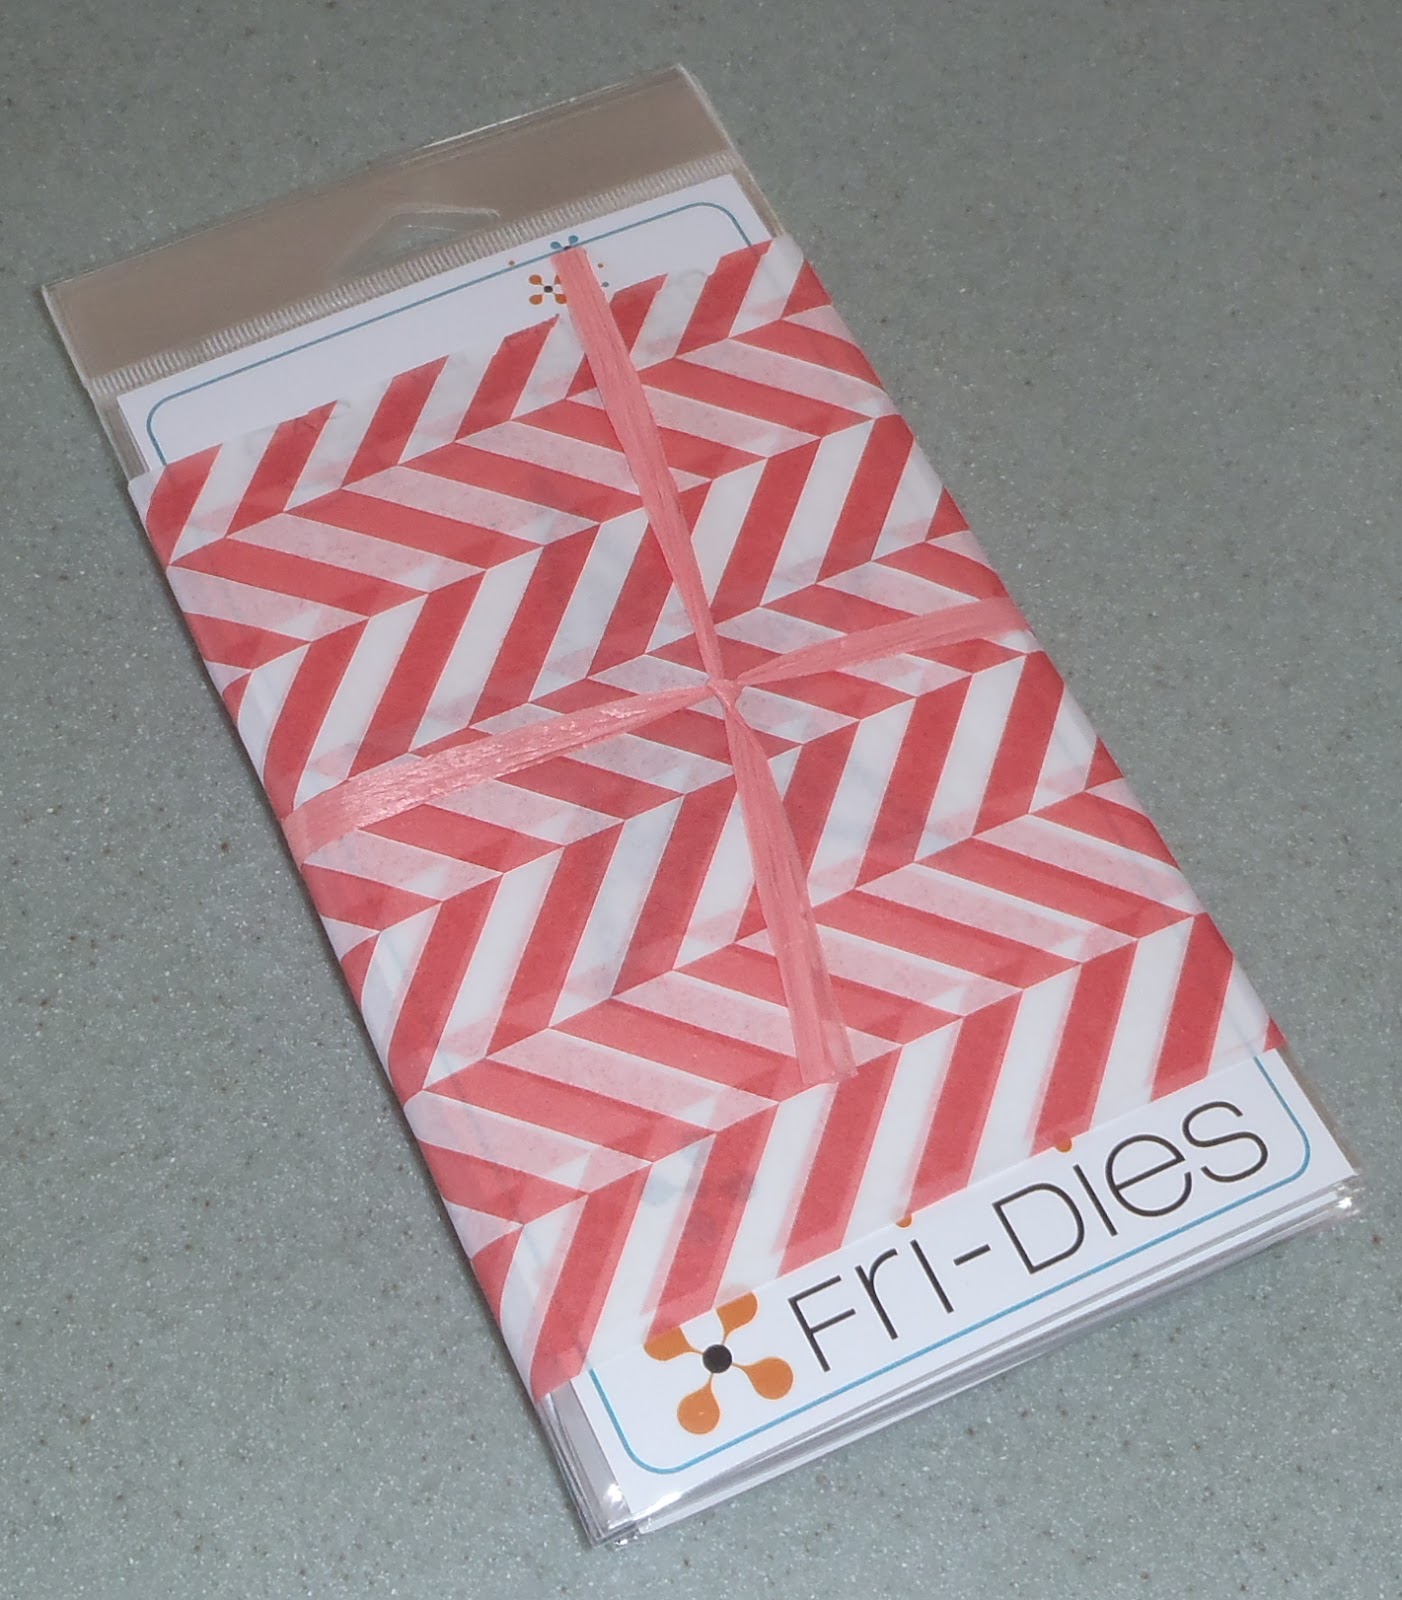
I opened my package and this is how my goodies arrived.
How cute is that?  
Such a nice little courtesy that made me smile.
If you know me very well, you know I'll be saving that 
paper to craft with.
I can't wait to ink up these stamps and run those 
dies through my Cuttlebug!
Come back soon and you'll be able to see
what I make with all my new goodies.
I can't wait to get started.
Be sure to check out these 2 companies,
they have wonderful products and their delivery was
very fast.
Also go check out Jennifer and Julia's blogs
They both have some wonderful ideas
and videos
Hope to see you again soon,
Until then, Happy Crafting!