My Other Pages

To make it easier to read about our trip to Ireland, I have made a page that is just for that. There is a tab above for Ireland Trip 2014 or click on the Home tab to read my other posts. I have also created a new page for My Weight Loss Journey if you are interested in that, click on the tab above.
Showing posts with label light box. Show all posts

Monday, October 10, 2016

More Inspirational Quote Projects

 Hello all!
My last post was about some inspirational quote projects
that I made for our scrapping/crafting studio.
Today I have a few more to show you.
This is one of the walls at My Happy Place.
The banner at the top says CREATE,
I made that banner quite a while ago and it was 
hanging in a different spot, so we moved that over on
this wall.
The background of this piece was created
 with watercolor crayons.  I colored a few colors onto
my craft mat, added water and 'smooched' the 
watercolor paper into the color to pick it up.
After it was dried I used my light box to 
trace the words and painted them with 
I adhered the project to a piece of matting and strung
the ribbon through holes around the sides and to make
the hanger.
This one was done by stamping the flowers onto
I love the smooth surface of this paper for coloring.
I used VersaFine Onyx Black ink for the stamping,
did the coloring with my Fantasia Colored Pencils.
The words were painted with pearlescent watercolors.
This last piece was the start of my whole
"journey" into making these projects.
It started with this inspiration
from Kristina Werner.
As I said in my last blog post,
It's all about 
Inspiration not Re-creation.
I'm not as talented as she is,
so I used my light box to trace 
the words that I had printed onto a 
piece of computer paper using
pearlescent watercolors.
(Can you tell that I love them?)
The background was made 
with the 'smooching' technique I 
mentioned above using Distress Inks.

Thanks for stopping by today to see what I've
been up to.
I hope you'll come again soon.
I have one more project to show you in this
"series" ..... well, until I get some more done that is.
I hope you are enjoying them and have gotten some 
inspiration from them.
Until next time:
Make Pretty Things!

Note the links are only to give a reference so you can
see what the products are.
I didn't necessarily purchase from these sites,
and you may find better prices elsewhere.
I am in no way promoting any particular site.


Saturday, September 24, 2016

Inspirational Quote Project

Hello crafty people!
Today my post is pretty photo heavy as I'm going to 
show you how I went about making this project
(click on any of the pictures to see them larger)
Recently I've been working on some pieces with 
inspirational quotes on them.
I'll be posting them as I get them done, I have
several in the works right now.
The first thing I did was decide which flowers I wanted
to stamp and color.
I stamped onto a 12"x12" piece of white card stock
and did all the coloring with colored pencils.
I stamped my first flower, which is an old one from 
Stampin' Up, into the upper corner of the page.
I also stamped it onto 
Inkadinkado Masking Paper, cut it out and used it as
a mask.
I had stamped the images I was going to use onto 
scrap card stock, colored them and roughly cut them out.
This way I could position the image and see where 
I wanted to stamp it.
I then laid the stamp over the cut out image and closed
the cover of my MISTI tool on the stamp to pick it up.
Placing the stamp over the cut out image also will prevent
any stray ink from getting where I don't want it.
As you'll see, most of the stamps were used more than 
once and that stray ink can ruin a project.
Here you can see where I used masking.
When I masked off a flower, then stamped over
it with another flower, then removed the mask,
the original flower appears to be in the front.
I just started coloring before I realized I hadn't taken 
a picture of the project with just the stamping on it.
Here it is, before I colored it.
I started by coloring a first layer of color.
This way I could plan out my colors then go back and
do any shading and intensify colors.
Here is what it looked like once I was finished
coloring the flowers.
Now it was time for the quote.
I printed the quote I wanted onto white card stock
from my computer.
I taped it to my light box and taped the project 
over it using Post It Tape.
Once I turn the light box on, I could see the lettering
and traced it.  Sometimes I put paints right to the
project, but since I wanted to use colored pencils, 
I felt it would be easier to trace it with pencil.
I traced all the lettering with a light hand.
Here is a close up of the traced quote.
Even though I used a light hand, I do wish I had 
used an even lighter hand.
Some of the pencil was a little darker than I needed,
it only had to be dark enough that I could see it to 
go over it with the colored pencil.
I think my project turned out nice.
I haven't decided how I will hang this project,
but I'll get that figured out soon and let y'all know.

Thanks for stopping in today to see what I've been up to.
I hope you'll let me know what you think of my project, 
and I hope you've learned something and/or been inspired
in some way.
Come again soon. 
Until then, make something pretty.

All the stamps are from my stash,
the ones I know are:
The flowers in the lower left corner 
"Poppy" from Our Daily Bread Designs
The roses in the lower right and upper left 
"Rose" from QKR Stampede
The 3 along the bottom
Anna Griffin Parrot Tulip Stamp
very old, I couldn't find a link for it.

Note the links are only to give a reference so you can
see what the products are.
I didn't necessarily purchase from these sites,
and you may find better prices elsewhere.
I am in no way promoting any particular site.

Monday, January 11, 2016

Swap gift

Hello!
I have to start by saying 
I LOVE paper!
Not just scrapbooking paper, although most
of what I have is for scrapbooking, but I love paper 
of different kinds.
And I have a real problem with it,
I hate to use it, I just want to keep it,
look at it, admire it and cherish it.
I have been getting better about that,
and this past year I have made a real effort to use
some of my favorite papers.
After all isn't that what they are for?
No more saving them for just the right project,
I'm MAKING them the right projects.
Okay, now that I've made that confession,
I'll get to the reason for this post.
There is a store in Rochester, NY, about an hours
drive from where I live, that I just love.
The Art Store
isn't a crafty type of store, they have a LOT
of wonderful art supplies.
One of the things they have is paper!
Not just any paper, but some gorgeous handmade papers.
Thanksgiving weekend I went with my friend, Mary,
to do a little shopping and I couldn't resist buying some 
of the papers, but this time, I had a real purpose in mind.
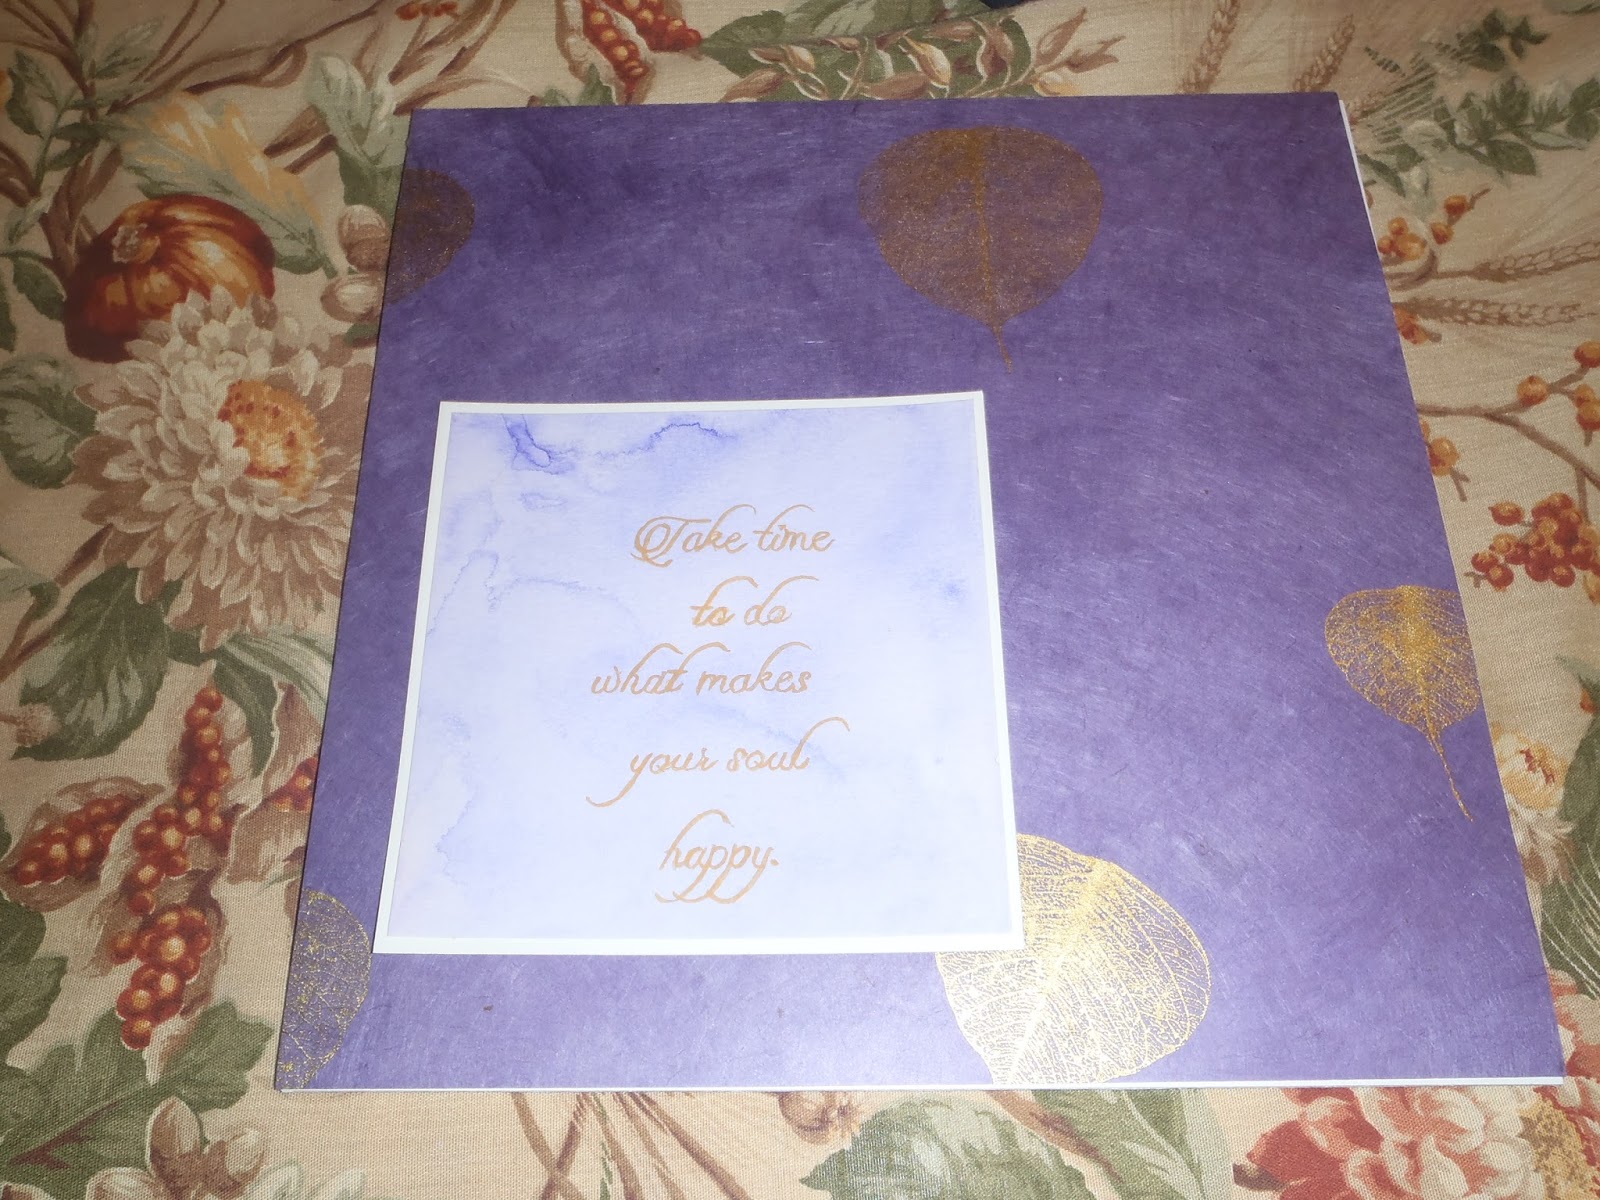
This picture doesn't really do the paper justice,
but I bought this with Mary in mind.
We are in an Art Swap Group together and I 
happened to be given her name for the Christmas
exchange.
It took a while to decide what I wanted to do,
but then when it came to me, it came together pretty easily.
I started with some nice quality heavy weight watercolor paper
(Sorry I don't remember which inks I used to create
this background.)
I wet the paper with a generous amount of water.
I "smooched" some ink onto an acrylic block and
picked it up with a wet paint brush, then dropped it into 
the water on the paper.
I let the color flow through the water and then used a 
heat gun to dry the entire piece.
It took me a while, but I finally found a quote that I
thought was perfect for Mary.
I printed the quote out in a font that I liked onto
plain computer paper.
I taped the quote to my light box,
then taped the painted paper over the quote.
I painted the quote with a gold water color crayon
and a fine paint brush.
I love how it turned out.
Now I needed to decide where to place it on the paper
and what size I wanted it to be.
I trimmed down the quote as well as the background paper.
I matted the quote with white card stock to set it off,
adhered it to the background paper and adhered that to
a piece of foam core.
I'm very fortunate to have a husband that is a photographer
and custom framer.  He had just the frame I needed
and we framed the piece in a gold frame
I love how this turned out and hope Mary loves it
as much as I do.

Thanks for stopping by today.
I hope you'll think about some projects you can
make with some special papers that you've 
been hoarding, or pick up something wonderful
to work with.
Come again soon and you'll see the projects
 I made for my kids for Christmas with
some of these gorgeous papers.
Until then, Happy Crafting