My Other Pages

To make it easier to read about our trip to Ireland, I have made a page that is just for that. There is a tab above for Ireland Trip 2014 or click on the Home tab to read my other posts. I have also created a new page for My Weight Loss Journey if you are interested in that, click on the tab above.

Sunday, October 28, 2018

Ink Lift Card

Welcome to Kristie Kreates!
Have you tried the Alcohol Lift Ink yet?
If you haven't you should give it a try.
Well, that is if you use alcohol inks.
I love my alcohol inks, especially for making backgrounds.
When the Alcohol Lift Ink came out
I knew I needed to give it at try.
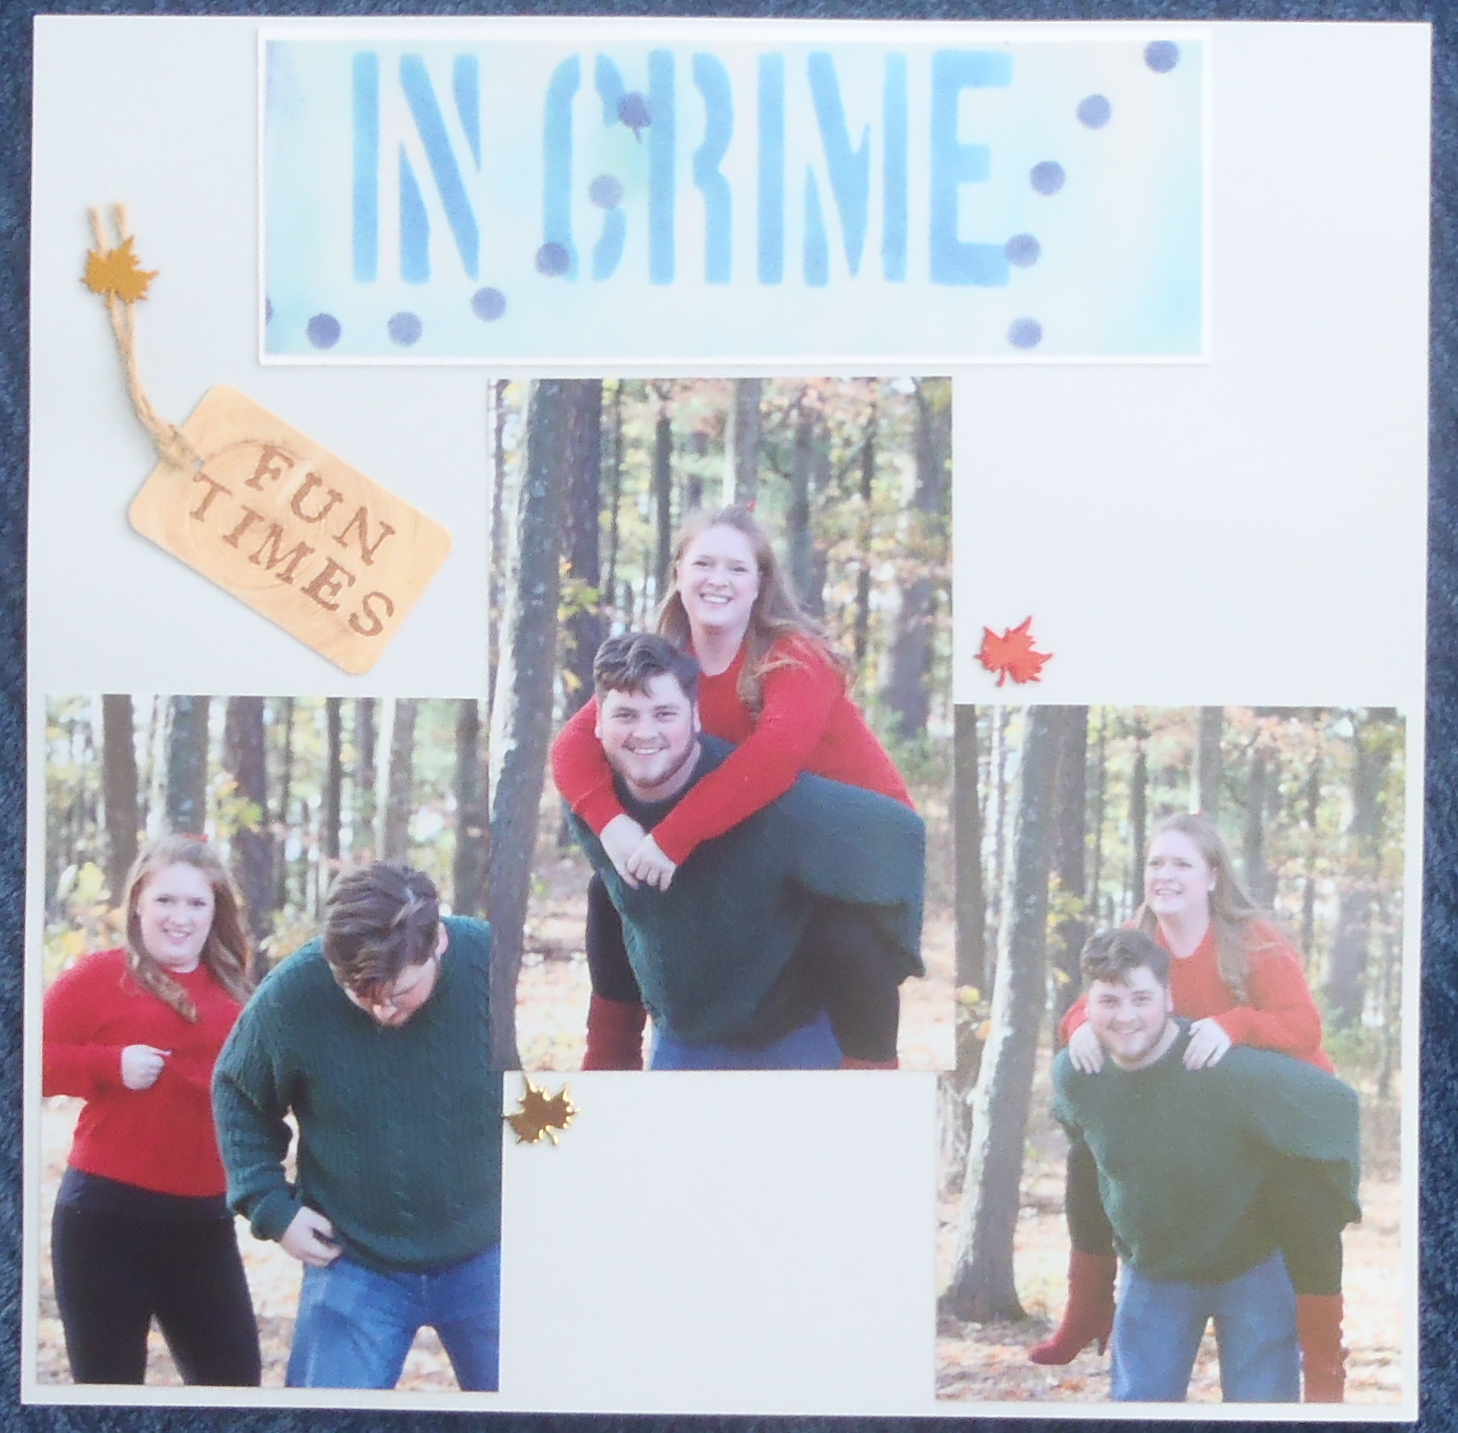
This is a card I made for my Aunt Marilyn.
Her 95th birthday was the same day my 
son got married.  Unfortunately, she lives in
 North Carolina and we are in Western New York,
so she wasn't able to attend.
I thought a fall themed card would be perfect for her.
There are a lot of video's out there showing how to use the
alcohol lift ink, so I won't go into detail about it.
I will say I used a glossy silver card stock,
made a background with a few different colors of
alcohol ink and stamped with several leaf stamps from
my stash of stamps.
I heat embossed the Happy Birthday with silver embossing powder,
mounted it onto silver card stock and layered them all
onto a matching card base.
If you haven't tried this cool ink, you should.
It's so much fun to work with and gives a very impressive
look to any card or project you make with it.
Here's a link to some videos on YouTube
showing techniques with this amazing product.

Thanks for stopping by today, 
come again soon.
Until then,
watch some videos and give 
something new a try.


Note the links are only to give a reference so you can
see what the products are.
I didn't necessarily purchase from these sites,
except where specified,
and you may find better prices elsewhere,
I am in no way promoting any particular site.


Thursday, October 25, 2018

Partners In Crime and Save The Dates Layouts

I love my kids!
Hello crafty friends!
Today I have a couple layouts to show you.
These will be going into the wedding scrapbook(s) for 
Jaryd and Sara.
I love the pictures in this layout, because they show the 
fun loving and playful side of my kids.
These are all pictures that were taken by Sara's Mom, Yvonne,
during their engagement picture session with her.
Kelsie and Jaryd have always been close, 
these pictures remind me how close they are
and how goofy they can be at times.
Making the Save The Dates was a big project that 
Sara and I did together.
We designed them together and assembled them 
together.  It was so much fun being able to 
work with her and be involved in so much.
Jaryd also came by to lend a hand.
Working on these with Sara was a joy,
she had most of the ideas about what they wanted
and I knew how to make it happen.
When working on the layouts for the wedding book,
I've been trying to think outside the box a little bit.
I want to incorporate more stamping in the scrapbook, 
as well as different techniques.
In this one about the Save The Dates,
I did some stamping on the layout, as well as
stamping the title.
Not all that outside the box, but I think you'll see 
more creativity in some of the future layouts
that I'll be showing you.
Do you ever use stamping on your 
scrapbook layouts?

Thanks for stopping by today,
hope you have been inspired in some way.
Until next time,
think outside the box and try
something a little different!

Monday, October 22, 2018

Happy Anniversary!

Hello crafty people!
A couple weekends ago a couple friends
and I organized a 4 day crop and celebrated 10 yrs
of cropping and crafting together.
One of the gals made cupcakes and I made these little
 decorations for the top of them.
I used a banner die and cut from all different colors of 
scrap card stock.  I then stamped the Happy Anniversary
sentiment onto them and embossed it with 
silver embossing powder.
I used glue dots to stick the banners onto 
toothpicks.  Simple, quick and easy and they 
looked cute on the cupcakes.
Unfortunately, this was the only thing I got any
pictures of from our crop.
Guess I was worn out from the wedding the week
before and I didn't think of taking pictures of any of
the other prep or fun.
In fact I took these pictures after the event.
Sometimes we just get bogged down and forget
things.  LOL
The good thing is that the event was a big success.
Now on to planning our next one for the spring.

I'm glad you stopped in today and hope you'll come
again to spend a little time with me.
Until next time,
try something simple and easy.

Thursday, October 18, 2018

Etched Wine glasses


Hello crafty people!
For Jaryd and Sara's wedding, there were
a bunch of crafty things that I helped with.
One of those things were some glasses that were
given to people at the rehearsal.
Sara's Mom was doing the etching,
but needed the stencils cut and I could do that.
So they told me what they needed and I created
and cut them with my Silhouette from vinyl.
Most of the wedding party got 
Buffalo Bills glasses.
This is what the stencil was like.
Yvonne would put the stencil on the glass,
then use etching cream to etch the image.
Once it was etched, she could rinse off the
etching cream and remove the vinyl stencil.
Here is one of the Bills glasses done.
Sara's sister is a chef, so she received 
this one with "skull chef" and the other was
for her boyfriend  In this case they left 
some of the vinyl on as a design element.
This is the design for my husband's glass.
He is a huge Trekkie.
And mine was this Scrap Queen glass.
There were a few others, but they were all done 
the day before the rehearsal, 
so I didn't see them before and
I didn't get pictures of them.
Sorry these last 2 pictures aren't very good,
but at least you can get the idea. 
Sara sent me the pictures of the others
and I think she did a beautiful job.

Thanks for coming by and spending time
at Kristie Kreates today.
I hope you'll come again soon.
I'll be posting more wedding fun and
scrapbook pages for their book soon.
Until then,
maybe you can give etching a try.


Note the links are only to give a reference so you can
see what the products are.
I didn't necessarily purchase from these sites,
except where specified,
and you may find better prices elsewhere,
I am in no way promoting any particular site.

Sunday, October 14, 2018

Jam

Hi everyone!  
Today I'm going to share with you the favors
that were at my son's wedding.
Everyone received a jar of home made jam with 
a label on the top that says
"Spread the Love
Sara & Jaryd
September 29, 2018"
Sara's Mom made most of the jam and I made the
labels and put them on the jars.
Here's what the labels were like.
I put a little graphic at the top of each label, 
showing what the flavor was.
There was peach, strawberry, strawberry banana,
strawberry peach and blueberry.
Each jar had a little spoon with it.
Here they all are, labeled and waiting in my dining room
to go to the wedding.
Everyone seemed to love receiving the jam.
In fact one of my great nephews ate his whole jar on
crackers at the wedding.
Instead of cheese and crackers, he ate jam and crackers.
I think I'd like to learn to make some 
pepper jelly one of these days.
I love pepper jelly and cream cheese on crackers,
and it would be so fun to make my own.
Have you ever made jam or jelly?

Thanks for stopping by today.
Let me know if you've ever made jam or jelly
and what kind is your favorite.
Hope to see you again soon.
Until then,
happy crafting!


Thursday, October 11, 2018

I've been a busy gal!


Hello!
Just popping in to say sorry for not posting for a bit.
My son got married on the 29th and leading up to the wedding
I was so busy, I couldn't even think about blog posts.
I had some scheduled, but apparently not enough.
After the wedding I've been trying to recover and I also
had a weekend crop that I was putting on with a couple other gals.
I'm finally starting to get back on track,
so hopefully, I'll have some new posts up soon.
For now, I'll just leave this picture of my son and daughter in law here.
Thanks for stopping in, come again soon and I'll try to have something
new up very soon.

Monday, October 1, 2018

Bacon Wrapped Carrots

Have you ever seen something on Facebook 
and just knew you had to give it a try?
I saw a video with a recipe for bacon wrapped carrots
and I knew I had to make them.
The funny thing is, that I hate cooked carrots.
Honestly, I never eat them, but something about these
grabbed me and I had to give them a try.
I was having family over and decided to make them
as an appetizer, they were really easy.
I'm a bit of a rebel when I make something like this.
You see, I have a habit of not following the recipe.
So I ended up making my own version,
a little different, but basically the same idea.
I peeled the carrots, wrapped them in thin sliced bacon
and laid them out on a cookie sheet covered with parchment
paper.
I then mixed syrup (I didn't have maple syrup, so I substituted
the cheap stuff, plain old pancake syrup) a bit of
"Hot Mama's Hot Hot Sauce" ( they called for Sriracha)
and some fresh ground black pepper, all into a bowl 
and mixed well with a whisk.
I then brushed the bacon wrapped carrots on both sides
with the syrup mixture.
Then they went into the over at 400*
After about 25 minutes, I flipped them and brushed
on more of the mixture, then cooked them for another
25 minutes.  When they came out of the oven, I brushed them
one more time.
This is how they looked and I have to say they were
fabulous.
Like I said, I hate cooked carrots, but there was a little piece
that broke off one of them and I had to give it a try.
It was soooooo stinkin' good!
I even ate a whole one when my family was here.
My sister in law was so surprised, she'd never seen me 
eat a cooked carrot before!
I really did like these carrots though and so did 
everyone else.
I'll definitely be making them again.
I do have to say that the pan I cooked them on
was quite a mess.  Between the bacon grease and the
sugar in the syrup,the parchment paper and the high temp,
there was a big cooked on mess.
After a little soaking and scrubbing,
it all came off so all is good.
If you ever try making these, be sure you use
a pan with sides.  I did, thank goodness, or 
it would have been a bigger mess. 

I'm so glad you stopped in today,
Please come again soon,
you never know what you'll find on 
Kristie Kreates!