My Other Pages

To make it easier to read about our trip to Ireland, I have made a page that is just for that. There is a tab above for Ireland Trip 2014 or click on the Home tab to read my other posts. I have also created a new page for My Weight Loss Journey if you are interested in that, click on the tab above.

Wednesday, March 30, 2016

Window Panel Cards #2 and Distress Crayons

Hi all!
Today I have a few cards to show you.
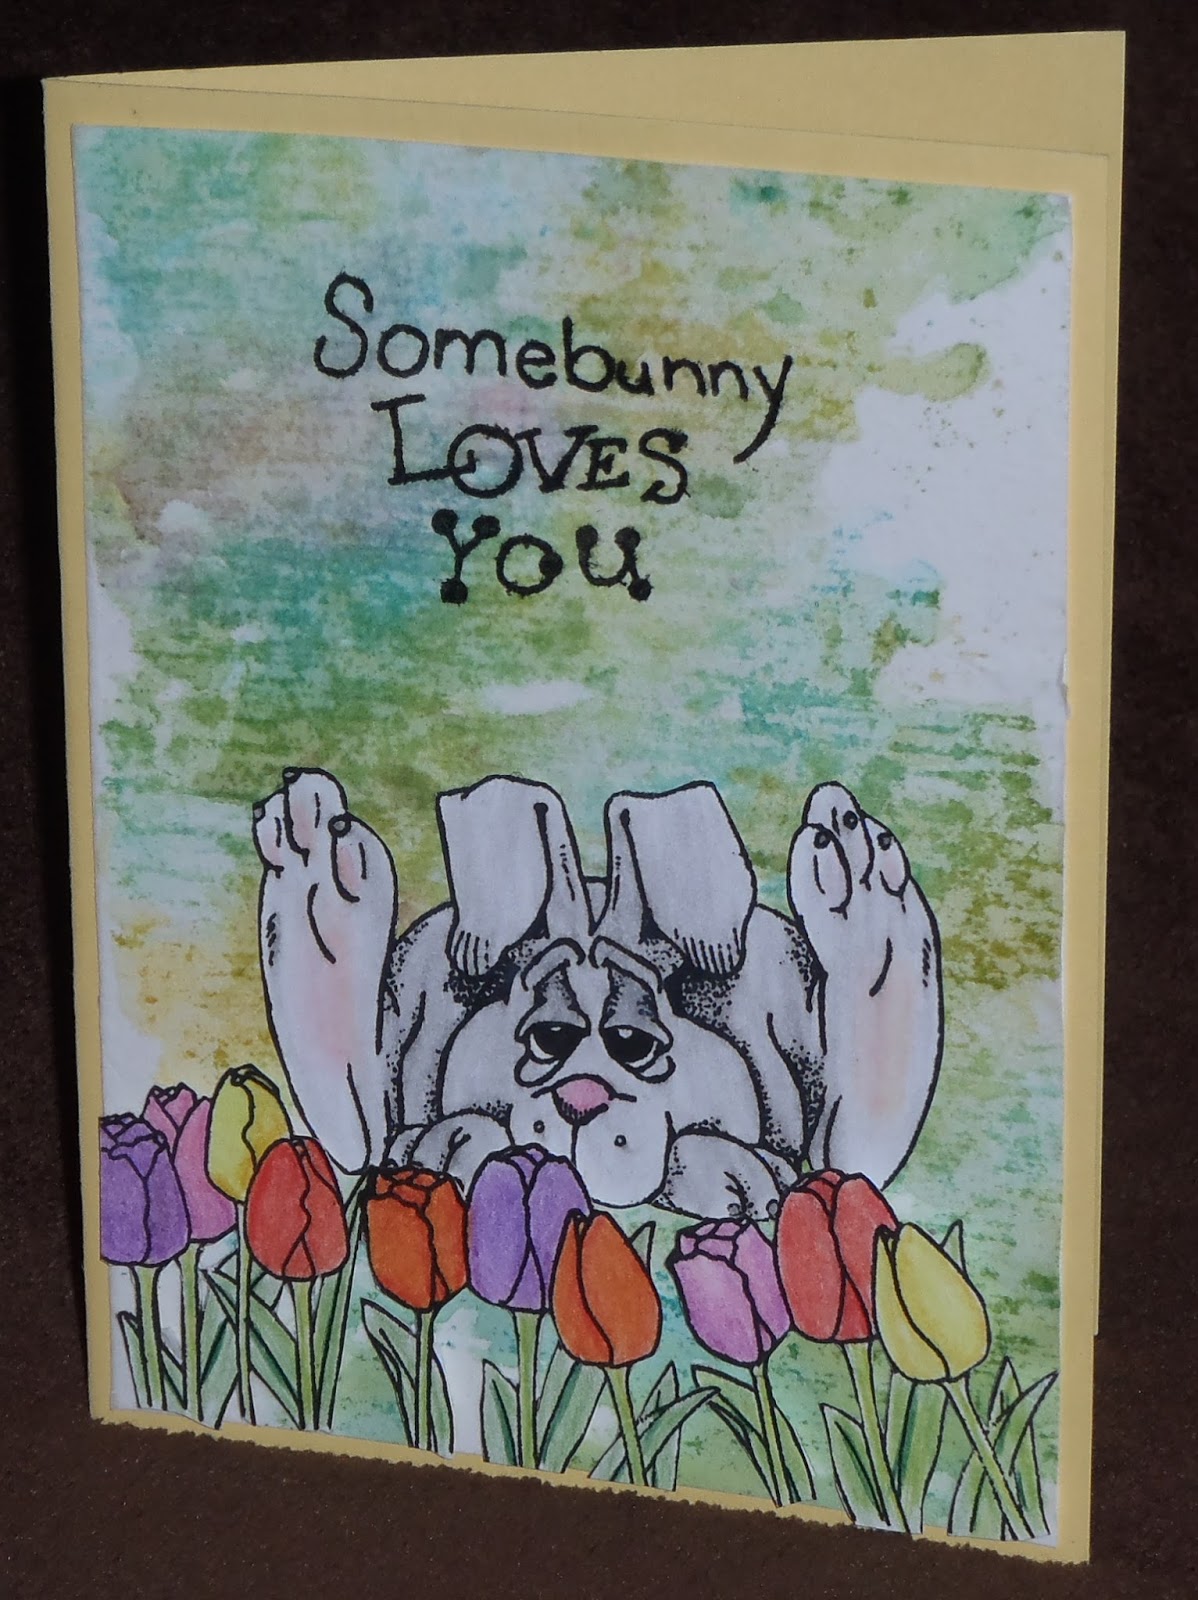
I love this window panel style of card.
This time I made a couple of them using some 
card stock that I had used 
Distress Crayons to create.
I first covered the card stock with Gesso,
then used the Distress Crayons to color sections
of the card stock, then 'smooshed' the color around 
with my fingers.
The colors are pretty creamy and blend best when 
there is a base coat, this is why I used the Gesso
from Eureka Stamps for the inside of the card.
I wanted something that fit nicely behind the clear
panel window and this was perfect.
I think it went well with the look of the overall card.
I stamped it with Chestnut Roan Color Box Ink.
This card can be used as a vertical or a horizontal card.
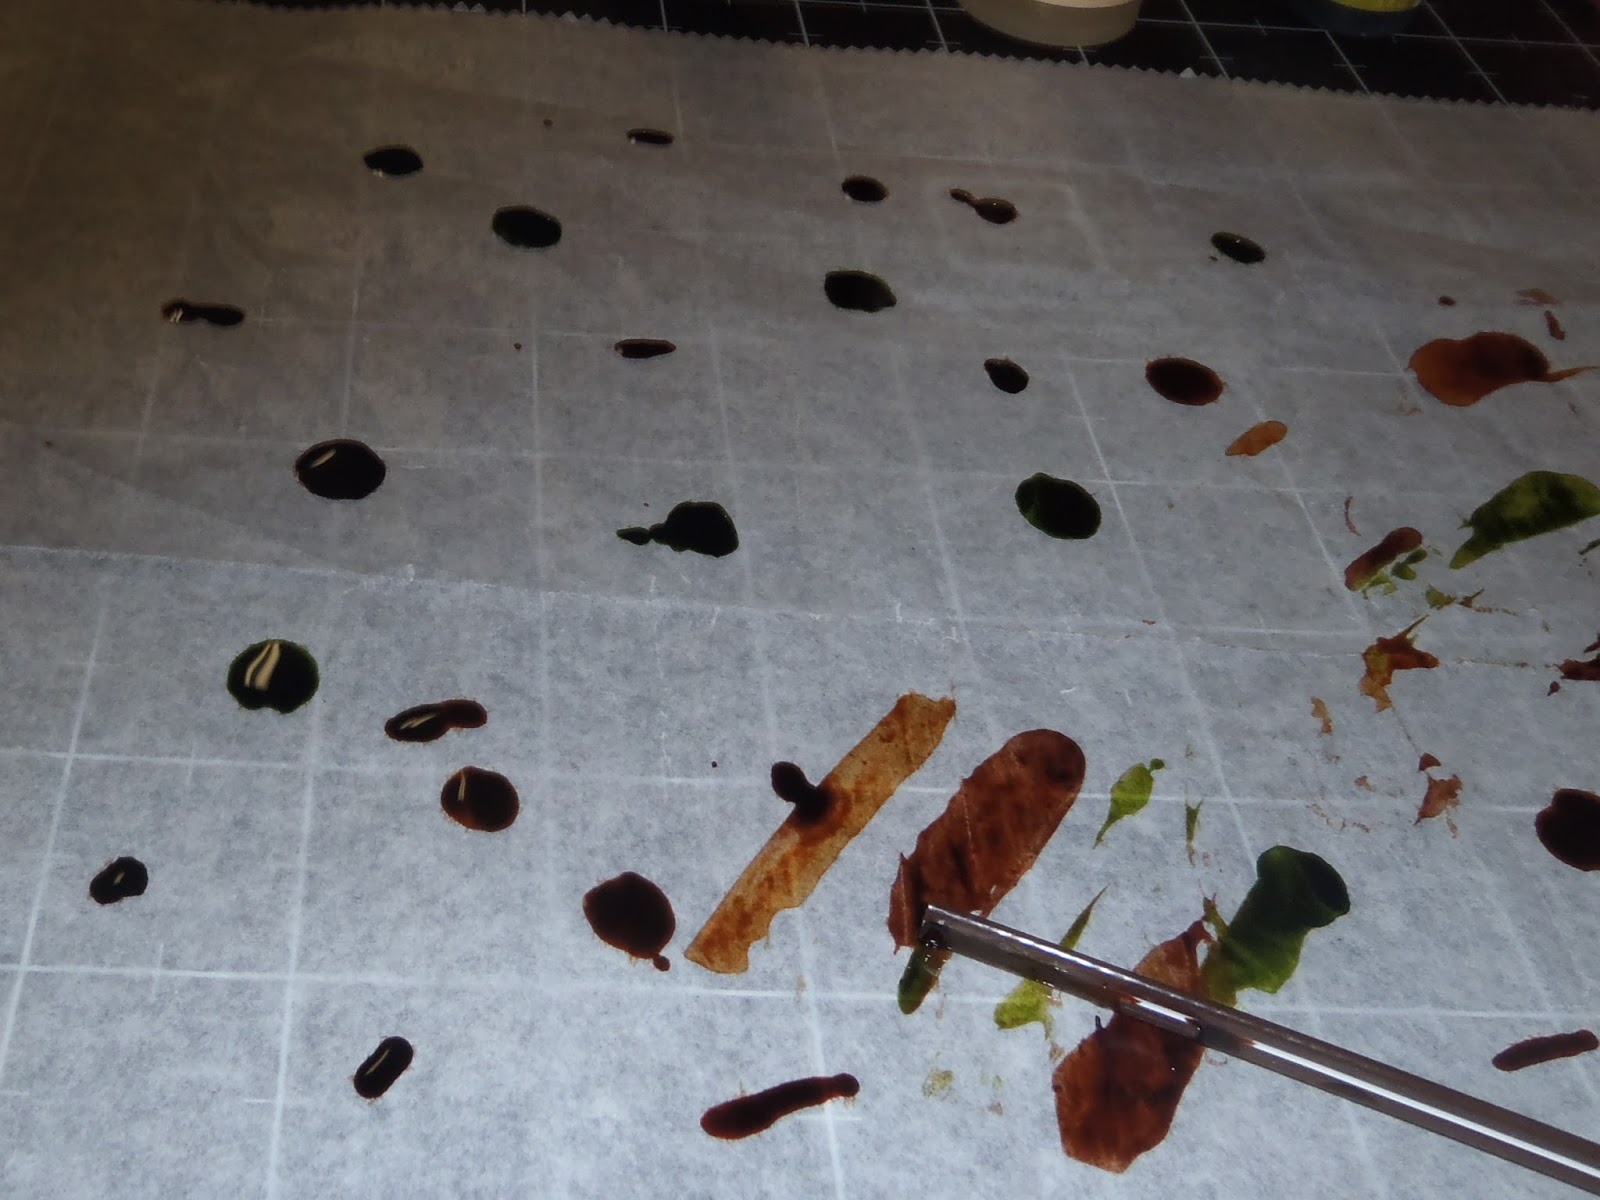
For this card I used another piece that I created with
Distress Crayons.  This one was made using the 
Distress Crayons directly to card stock, using no base 
coat of Gesso.  The crayons did blend, but not nearly as 
easily.  I used the same colors for both cards, you can
see the difference in the color, as without the Gesso,
the crayon kind of "soaked" into the paper.
I like how both turned out, but found the one with
the Gesso easier to work with.
I made this striped card stock panel with 
from Winnie and Walter
Biblical Impressions.
I stamped the image with Versa Fine Ink
and colored it with 
colored pencils.
The acetate I used for all these window 
panel cards, is simply packaging that I had kept
in my stash, knowing that I'd find a use for it.
I had a lot of fun making these cards
and I'm sure I'll be making more of this style card
in the future.
Thanks for coming by today,
I hope you have enjoyed my cards.
Have you tried the new Distress Crayons yet?
I love them and I'm sure you'll be seeing more
projects on my blog where I use them.
I hope you'll come again soon.
Now go make something fun.


Sunday, March 27, 2016

Somebunny Loves You

Happy Easter!
I wanted to make a cute card for my Mom
for Easter and here is what I came up with.
I used some of my deli paper and alcohol ink
background paper for the base panel.
I stamped and colored 
and
with colored pencils, 
fussy cut them and adhered the 
bunny directly to the background panel
with ATG tape.
I added the tulips with 
foam tape.
The sentiment is 
and is stamped with
Onyx Black Versa Fine Ink.
I'm sure my Mom loves her card.
I hope you have a beautiful and blessed
Easter.
Thanks for stopping by today,
see you again soon.


Wednesday, March 23, 2016

New post on MP&C

Hi all!
Just a quick post to let y'all know that
I have a new post up over on
Mashed Potatoes and Crafts
Here's a sneak peak
Why don't you hop on over and see what 
I did with that background and how the 
final project turned out.
Thanks for stopping by,
I hope you'll take a little time to 
check out my other projects here.
See you again soon!

Window panel card

Hello blog friends!
Today I'm showing you a card that I just love.
I recently learned the technique for putting this 
"window panel" on a card from 
Jennifer McGuire Ink
When I saw her video, I knew I had to give it a try.
I had this striped piece of card stock 
that I had created with 
from Winnie & Walter
The inside image is 
from Biblical Impressions.
I stamped it with VersaFine Black Onyx ink
and colored it with water color crayons.
I used my Misti stamping tool to get a perfect
placement and image.
Thanks for stopping by today,
I hope you'll check out Jennifer's video
and give this style of card a try.
Until next time, Happy Crafting.

Thursday, March 17, 2016

1st Birthday

Happy Day!
My great nephew turned 1 yr old this week.
It's hard to believe that a little over a year ago we didn't even know
we would have another great in the family.
Then on the morning of March 16th my nephew and niece
received a phone call that there was a baby for them to 
adopt.  So off they went and they met their sweet baby boy.
This last year has been a long and crazy ride, filled with
joys and worries, but everyone got through it and 
in February his adoption was finalized and Emmett is now 
and ever more a legal part of our family.
Here is the card I made for his 1st birthday.
I love the bright colors!
The words and 1st birthday were cut on my 
Silhouette Cameo.
These animals are all from Paper Smooches,
the set is called Chubby Chums
I stamped, colored and fussy cut each animal.
I then adhered them to the card with Action Wobblers.
I'm sorry I don't have the name of the font stamp set
that I used for the "celebrate".
Here is a video of how the animals wobble.
I hope it works for you.
I know Emmett is going to love the 
wobbly little animals.

As always, thanks for stopping by for a visit,
I hope you enjoyed my card and will try out some 
Action Wobblers,
they are so much fun!
Come again soon.
Until then, Happy Crafting!


Monday, March 14, 2016

Happy Thoughts

Hi all!
Today I have another card I made using some of
the backgrounds I made with alcohol inks
I glued one of the papers onto a manila tag with
gel medium then stamped the image with 
Chestnut Roan ink.
I used gel medium to adhere the other paper to card
stock then adhered it to the card base, then simply 
adhered the tag to the front.
For the inside, I stamped the sentiment onto a scrap
of the background paper and cut it down and ATG taped it
to the inside of the card.
Here is a close up of the sentiment I used.

So glad you stopped by today,
I hope you'll come again soon.
I hope you're having a better than average day!

Friday, March 11, 2016

If You're Feeling Blue ~

Hello crafty friends!
My last post showed how to use 
deli papers and alcohol ink to make 
background papers.
Today I'm going to show you how I 
used some of the backgrounds that I made.
I used gel medium to glue the background paper
to card stock.
The paper on the front was glued to a piece of
black card stock.
Then it was adhered with ATG tape to the
white card base.
The sentiment was stamped onto a scrap piece
and then layered onto white card stock then onto 
the card front.
The inside piece was glued to kraft card stock
and stamped with the rest of the sentiment.
Here is the stamp I used for the sentiment.
I simply used some tape to mask the area I didn't
want to stamp, inked it up, removed the tape and stamped
the sentiment onto the card pieces.
Sorry, I don't know the company that made this
stamp, I borrowed it from a friend and 
didn't make note of it.

Thanks for stopping by today,
I hope you enjoyed this post and maybe
are inspired to try the technique I used to make 
these backgrounds.
They are fun to make and do give projects
a unique look.
Until next time, Happy Crafting!


Sunday, March 6, 2016

Deli Paper and Alcohol Inks

Hi crafty friends!
Last month I spent some time visiting a friend,
we had some crafty time and I learned this technique
using deli paper and alcohol inks.
These are the supplies I used.
a coffee stir stick and a sheet of deli paper.
The colors are Lettuce, Caramel and Ginger.
Drip the alcohol ink onto the deli paper.
Put the various colors around the paper.
Now spread the ink around with a coffee stirrer. 
(You can also use a straw.)
Continue moving the ink until it is spread out and dries.
You can add Blending Solution or alcohol
to 're-wet' the ink so you can spread it more
if you like.
Add more ink if you like and continue "playing" 
with it until you get a look that you like.
I chose not to cover the entire sheet of deli paper
with this one.  I like the colors as they were.
When I originally learned this technique,
we made many sheets with different color combinations.
It was great fun to just sit and play with the different 
combinations and see what we got.
To use this for a project cover a piece of card stock 
or a manila tag with an adhesive.  
Here I am using a glue stick.
You can also use products like Glue and Seal,  
Gel MediumMod Podge or whatever wet adhesive you prefer.
I chose to use Kraft card stock for this piece.
Be sure to press the deli paper down onto the surface
to be sure it is sticking all over.
Once it is dried, trim around your card stock and you have a 
beautiful background piece that you can use
on a card or even a scrapbook layout.
This time I chose to use a flat piece of deli paper,
I have also done this technique using deli paper that
has been crumpled and then flattened.
The folds and creases give the piece another 
bit of interest.
When I post some cards that I made with those
papers, you will see some of those creases.

I'm glad you stopped by today,
I hope you have enjoyed this tutorial and
will give this technique a try.
Be sure to come again soon,
I will be posting some cards I made with 
some of my deli sheets.
Until next time, Happy Crafting!