My Other Pages

To make it easier to read about our trip to Ireland, I have made a page that is just for that. There is a tab above for Ireland Trip 2014 or click on the Home tab to read my other posts. I have also created a new page for My Weight Loss Journey if you are interested in that, click on the tab above.
Showing posts with label glue stick. Show all posts

Saturday, September 30, 2023

Card With Dimensional Circles

Welcome!
I'm glad you are here to visit for a little while.
Today I am sharing a card that I made using a 
technique that I saw on a You Tube channel that
I follow.
In the video, she uses rice paper, but I didn't 
happen to have any.  I did, however, have another
type of paper that was fairly thin, so I decided to
give it a try.
I punched circles from card stock with punches that I had handy,
then glued them together to give them a bit more 
depth.  I think I used 3 for each circle.
The circles were glued to a piece of card stock.
I then used alcohol inks to color the paper.
The panel was then covered with glue.
I used glue stick, as I didn't want it to dry before
I got the colored piece in place as I wanted it.
I used a bone folder to smooth the paper down and over
the circles.  I had to be sure to press around the circles
to have that paper adhere around them and show the dimension.
The "joy" was stamped onto a piece of card stock and punched
out with an oval punch.  I inked the edges of the oval with
the same color I used to stamp the sentiment, then
adhered it to the front of the card.
A simple white card base set it off very nicely.
I'm very happy with this card, something a little different
and I think, very pretty.

Thanks for stopping today, 
I hope you have enjoyed your time here and 
have been inspired in some way.
Come again soon.
Until then,
try something new, even if you
don't have the same supplies in the 
example you see.


Sunday, March 6, 2016

Deli Paper and Alcohol Inks

Hi crafty friends!
Last month I spent some time visiting a friend,
we had some crafty time and I learned this technique
using deli paper and alcohol inks.
These are the supplies I used.
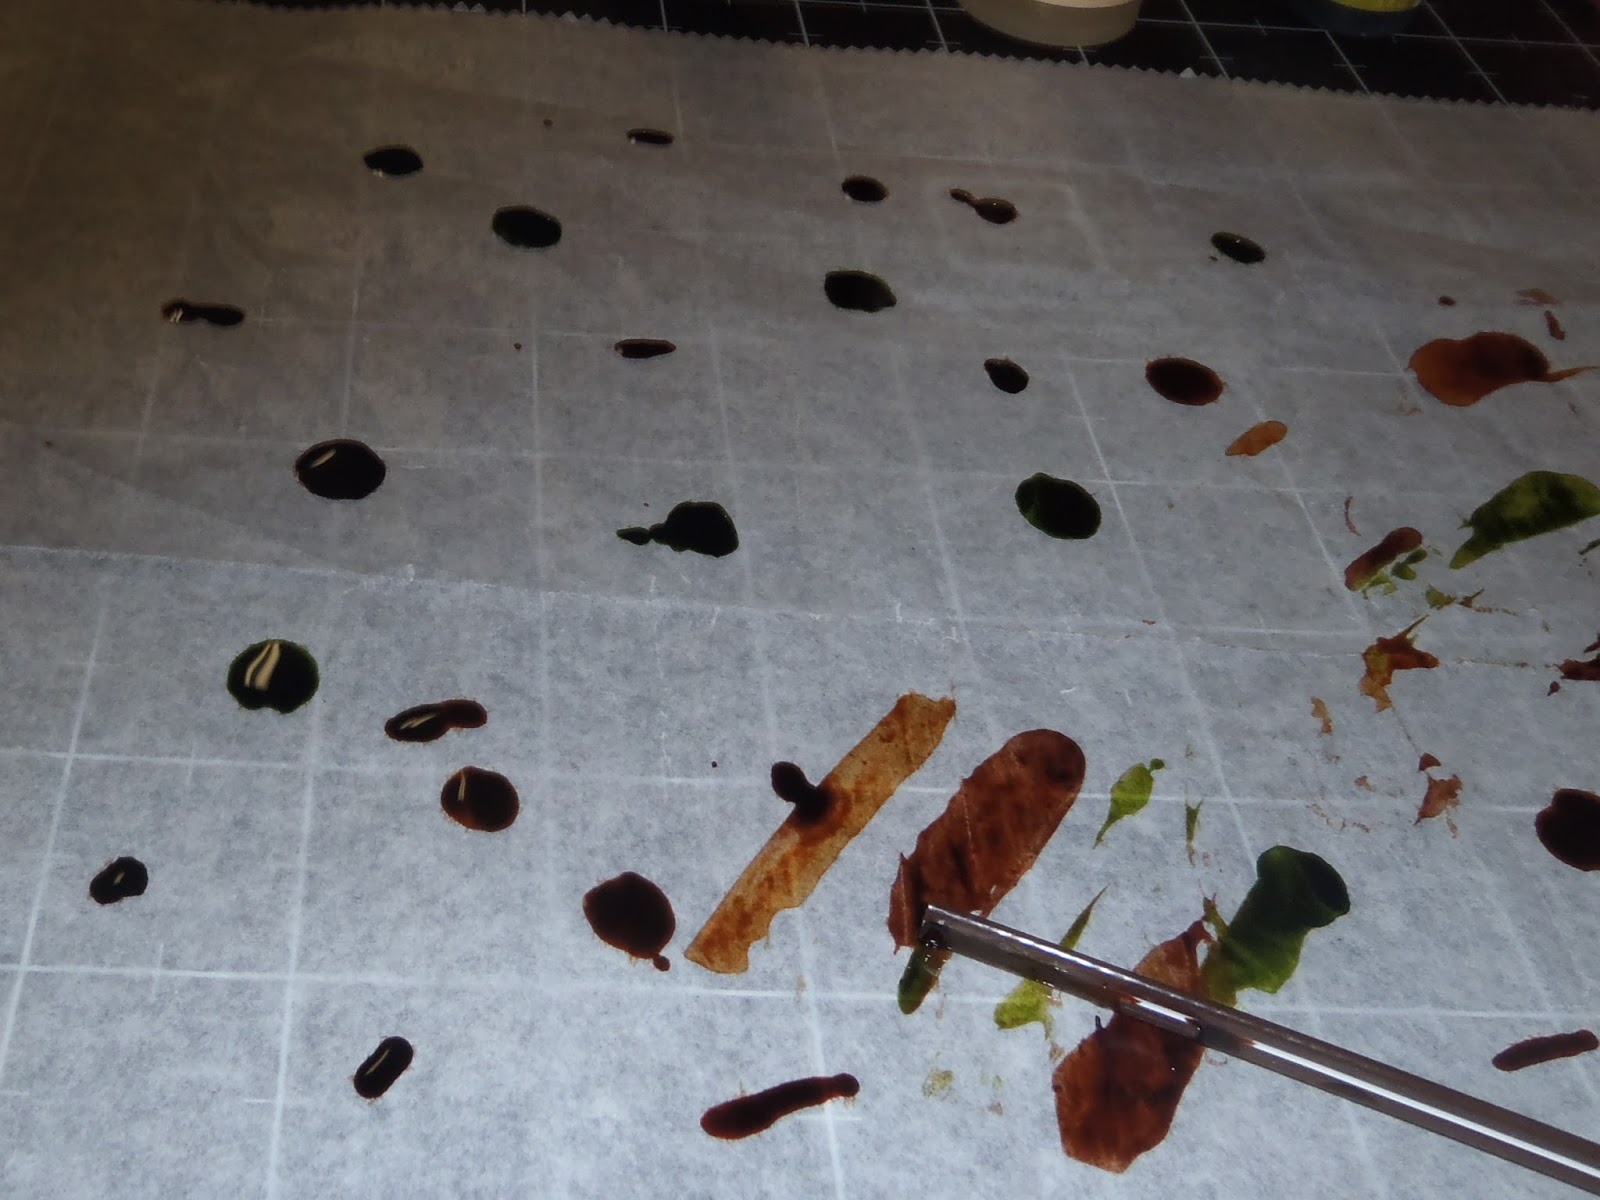
a coffee stir stick and a sheet of deli paper.
The colors are Lettuce, Caramel and Ginger.
Drip the alcohol ink onto the deli paper.
Put the various colors around the paper.
Now spread the ink around with a coffee stirrer. 
(You can also use a straw.)
Continue moving the ink until it is spread out and dries.
You can add Blending Solution or alcohol
to 're-wet' the ink so you can spread it more
if you like.
Add more ink if you like and continue "playing" 
with it until you get a look that you like.
I chose not to cover the entire sheet of deli paper
with this one.  I like the colors as they were.
When I originally learned this technique,
we made many sheets with different color combinations.
It was great fun to just sit and play with the different 
combinations and see what we got.
To use this for a project cover a piece of card stock 
or a manila tag with an adhesive.  
Here I am using a glue stick.
You can also use products like Glue and Seal,  
Gel Medium, Mod Podge or whatever wet adhesive you prefer.
I chose to use Kraft card stock for this piece.
Be sure to press the deli paper down onto the surface
to be sure it is sticking all over.
Once it is dried, trim around your card stock and you have a 
beautiful background piece that you can use
on a card or even a scrapbook layout.
This time I chose to use a flat piece of deli paper,
I have also done this technique using deli paper that
has been crumpled and then flattened.
The folds and creases give the piece another 
bit of interest.
When I post some cards that I made with those
papers, you will see some of those creases.

I'm glad you stopped by today,
I hope you have enjoyed this tutorial and
will give this technique a try.
Be sure to come again soon,
I will be posting some cards I made with 
some of my deli sheets.
Until next time, Happy Crafting!