My Other Pages

To make it easier to read about our trip to Ireland, I have made a page that is just for that. There is a tab above for Ireland Trip 2014 or click on the Home tab to read my other posts. I have also created a new page for My Weight Loss Journey if you are interested in that, click on the tab above.

Wednesday, September 9, 2015

C/C trip #2 farther south we go.


Day #2 of our C/C trip we were up early and on our way 
to Charleston. 
We arrived at the Days Inn, where we usually
stay.  It is right on Meeting Street in the historic area of Charleston.
We arrived early so couldn't get into a room,
but they did let us check in so we'd be sure to have
a room on the first floor.
There is a lot to do in the Charleston area,
check out all the brochures in the lobby of the Inn.
We were only staying for a couple days, 
and planned to just do a bit of exploring in the city.
Here's Dave in the entryway to the
City Market.
Here is a closer picture of that table behind Dave in the 
picture above.  This is only one of the many vendor tables
that can be found in the market.  
This one is selling Sweetgrass Baskets.
Sweetgrass basket are one of the oldest handcrafts
in the USA of African origin.
Originally baskets were made as sieves to separate
the rice seed from its chaff.
Since the Colonial Era these basket have been 
hand woven from sweetgrass that is harvested locally
for this purpose.  
Most times the artist who makes the baskets is sitting in 
their space working on items between sales.
Each artist has their own style and they are all beautiful.
This art form has been passed from generation to generation
for many many years.
Sweetgrass baskets are very popular with both locals
and visitors.  They have many functional uses as well
as being very decorative.
These baskets and their artists can be found in 
places other than The Market.
You'll find them set up on steps 
sidewalks throughout the city.

Many people call it the Slaves Market 
and often misunderstand this name.  
It was NOT named this because slaves were sold here!  
NO slaves were EVER bought or sold in this market.  
The reason it is sometimes called 
The Slaves Market is because it is where the slaves went to
purchase things for the homes of their owners.
In 1788  Charles Cotesworth Pinckney
donated the land to the city of Charleston for
the express purpose that it become a public market
and would always be used as such.
It has gone through many changes over the years, 
 due to disasters such as tornado, fires, hurricanes
and more. Some changes have been made due to 
economic demands.
The Market was always rebuilt and made better.
In 1973 it was placed on 
The National Register of Historic Places.
Here is a picture of the "front end" of the Market
from across the street.
It's a beautiful building, the upper floor is now a museum,
the entrance to the actual market is at street level
and the market extends for 4 city blocks.
If you visit Charleston, a walk through
The City Market is a must!
This isn't the only place to shop though.
There are many shopping opportunities in Charleston.
One of our favorite shops is
"One of a Kind"
This is an Art and Fine Crafts store,
located right across the street from the Market.
We always visit this shop with no specific purpose,
but we always find something we love and need
along with so much more that we love, 
it's a great place to do a bit of Christmas shopping.
  This year we found a piece of art that we considered for our
newly redecorated bathroom.
While we were thinking about the measurements of the space we had,
I spotted the cutest bird.
He would be perfect for next to the picture we have in the bathroom!
Then we spotted some fish by the same artist.
After much hemming and hawing over colors,
we left the shop with 3 fish and a bird.
Here is our cute sandpiper.
And our Mama and baby fish.
We love how they look with 
which is one of my husband's photos.
Another one of our favorite shops is
Market Street Sweets!
OH MY!
You can't walk past without stopping for a free
sample of their pralines.
And once you've tried them, you'll be hooked
They have other kinds of candies also, but we've never
gotten anything but the pralines.
And we always have to bring some home for the kids,
well, and some for us too.
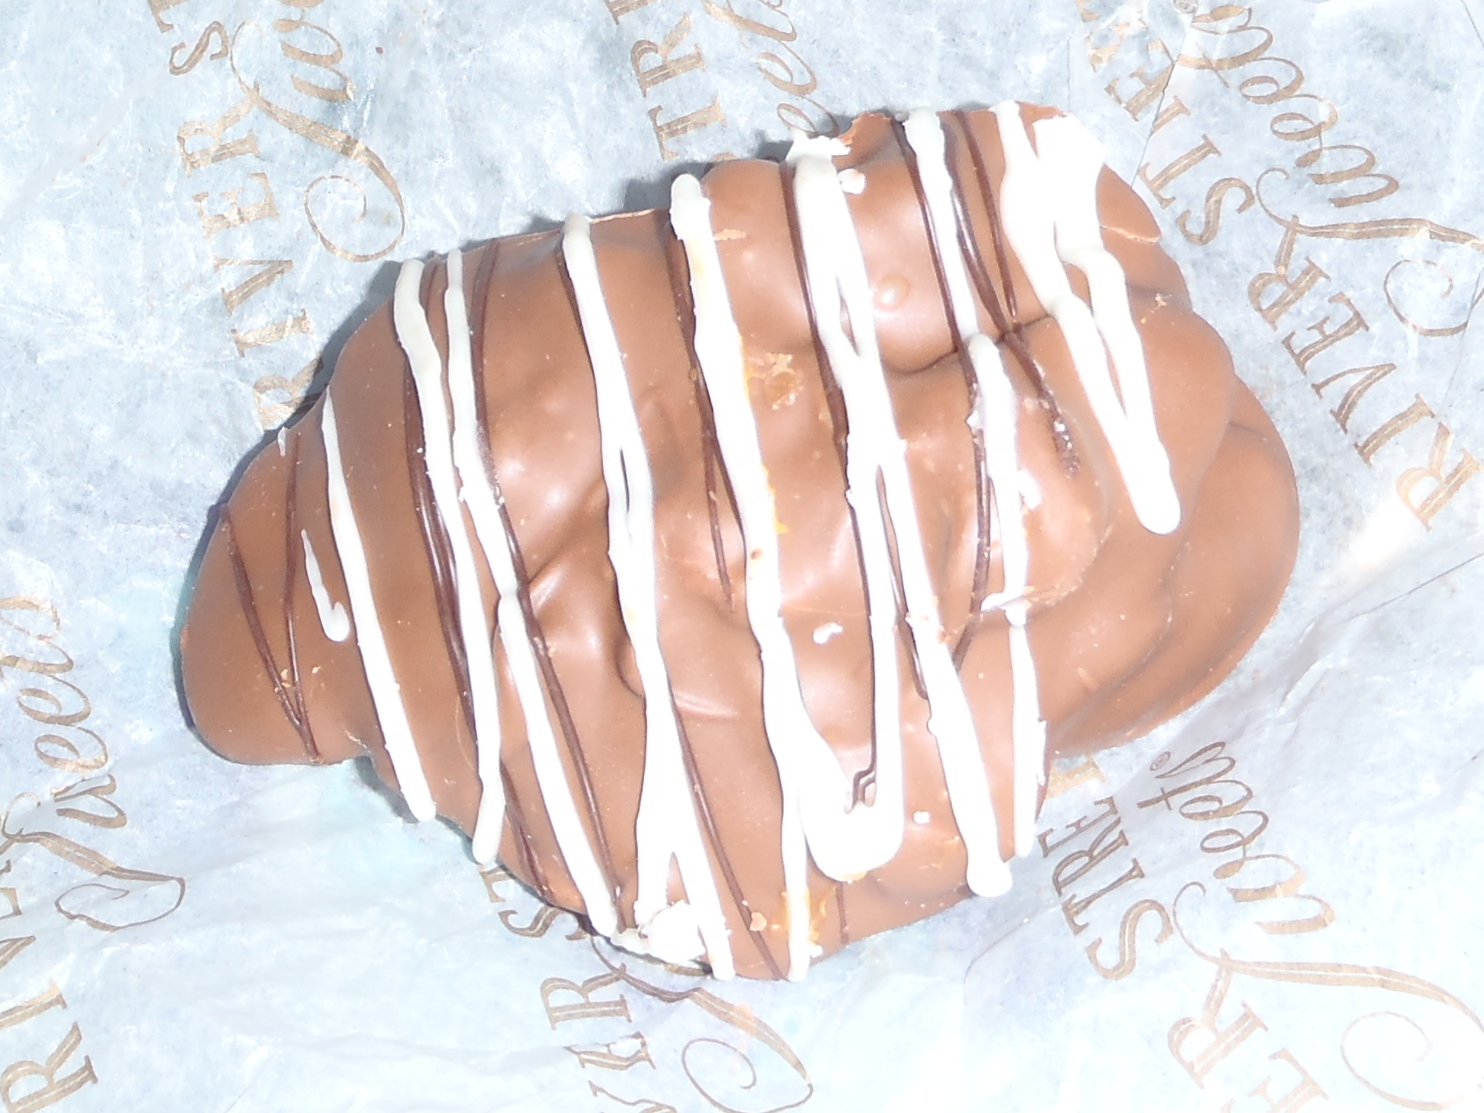
Our first day we just picked up one,
I'd never had the chocolate covered pralines before.
Oh was it good!
Also had a sample of the chocolate fudge pralines,
My, my!
But I think I still like the originals best.
If you don't want to fall in love with these sweet treats,
don't even go near the shop!

Thanks for coming by again to "hear" about
our trip.
Come again soon, never know what you'll find here on
Kristie Kreates.

Next post about my C/C trip, I'll tell you a bit more about 
eating in Charleston and walking around the city.
See you soon!


Sunday, September 6, 2015

Remember that metal mat? Fix #5

Fix #5 is a quick and easy one.
Remember that metal mat that I took out of a frame
in an earlier post?
Here it is.  Just a plain silver colored metal mat.
And here is the frame I'm using it in.
I liked this frame just the way I bought it.
(another thrift store find)
But when I went to frame the picture of my brother
and sis in law, I didn't like how it fit in the frame.
Solution?  Use that silver metal mat.
But, of course, I couldn't leave it as it was,
so I used some alcohol inks.
I didn't have any colors that went well with the frame,
so I stuck with some Slate Gray and made a subtle change
in the looks.
The only other problem I had was the picture,
my brother is about 6' tall and my sis in law is about 5' tall,
consequently the picture didn't work with the mat and their height
difference.  Simple solution, cut the picture in two and mount them
separately in the frame.

Thanks for stopping by for another
frame fix.
I hope you've been enjoying this little series.
See you next time.

Friday, September 4, 2015

Charlotte/Charleston Trip #1

Yes!  It's another travel series.
This one however will only be a few posts long.
I have a lovely "aunt" in Charlotte, NC
Aunt Marilyn is my Mom's BFF, they have been friends
for over 80 yrs.
Mom is going to be 91 in November and
Aunt Marilyn will be 92 at the end of September.
A year ago this past June, Aunt Marilyn, at the age of 90
had a total hip replacement.
She has done amazing!  She still lives in her own apartment
and does amazingly well.  She has a lovely friend, Monica, who 
drives her around when needed and helps in many ways.
But essentially, she is living on her own and caring for herself.
Anyway, we wanted to visit Aunt Marilyn, and Monica too.
So off we went for a few days travel.
We started off on Tuesday morning, pulling out of our driveway
at 7:15 a.m. for a day of driving.
Most of the drive looks a lot like this.  
Mountains, trees, fields and sky.
When we started out we had rain for about an hour,
then it cleared and we had beautiful weather the rest of the way.

One of my favorite areas on the drive are the 2 tunnels that
we pass through.
Before these tunnels were built, it was quite a drive to get over 
the mountains.  It could be treacherous driving the mountain roads
that took travelers over the mountains that are over 3000 feet high.
Both were traveled on narrow mountain roads that were often closed due to
fog or snow.
The most logical solution to the problem of going north and south
over these mountains was to instead go through them.
In the Bluefield, West Virginia area is the 
East River Mountain Tunnel
This tunnel is 5400 feet long. It was opened in 1974 and 
cost a whopping $40,000,000 to build.
Since the tunnel connects the states of West Virginia to Virginia
the 2 states shared the cost.
Coming out the other side of the tunnel you see more 
beautiful scenery.
A ways down the road you find the next tunnel.
The Big Walker Mountain Tunnel
in Wytheville, Virginia.
This tunnel is 4200 feet long and opened in 1972
and cost the state of Virginia $50,000,000 to complete.
We have driven this route many, many times and the one time
I was driving and my hubby, Dave, was snoozing in the passenger
seat.  He woke up just as we were going into one of these tunnels.
Poor Dave thought we were driving right into a wall or something.
He opened his eyes and all he saw was the "building" looming in front 
of us.  Boy did he let out a scream!
We tease him about it every time we drive south and have 
a little chuckle at his expense.
As you can see, we entered North Carolina!
One of the things that I love in North Carolina is that many of the 
medians in the roadways bloom with flowers.
(If you click on the pictures they will enlarge and you can see them a bit better.)
I had to take these through the windshield while driving at about 70 MPH.
NO!  I wasn't driving, Dave was!
These flowers are just beautiful.
There are even some places where they were planted
so when they bloom they are in wide stripes.
Just beautiful!
Around Charlotte, there are many embankments near overpasses
and exits from highways that have flowering bushes, lilies or other
flowers covering the grounds.
They do a wonderful job bringing beauty to the roadways.
I wish I could have gotten some better pictures, sorry!
I know this is a horrible picture, but it's here for a reason.
Trying to take a picture out the window while traveling at 
70 MPH and get a clear picture is near impossible.
If you look closely you can see that the trees are covered with vines.
Especially to the far left of the picture.
These are Kudzu vines and they are said to be the scourge of the south.
These vines are very invasive and grow rapidly, taking over thousands
of acres of land yearly.
They can cover entire buildings, cars and trees.  
They choke out the natural vegetation, killing 
many trees and other natural flora.
There is some interesting information if you Google
Kudzu.  I have found differing opinions about the Kudzu,
but most of what I have read is that this vine is very destructive
and unwanted.
As you drive along the highways you can see areas of 
trees and other plants that are totally covered in the vines.
Interesting and in an odd way fascinating, but sad all the same.
We arrived in Charlotte at about 6:15 p.m.
We made pretty good time, about 11 hrs with a couple 
bathroom breaks and a stop to fill up the tank.
I wish I could have gotten some better pictures,
but again, I had to take the pictures will flying along the
highway.
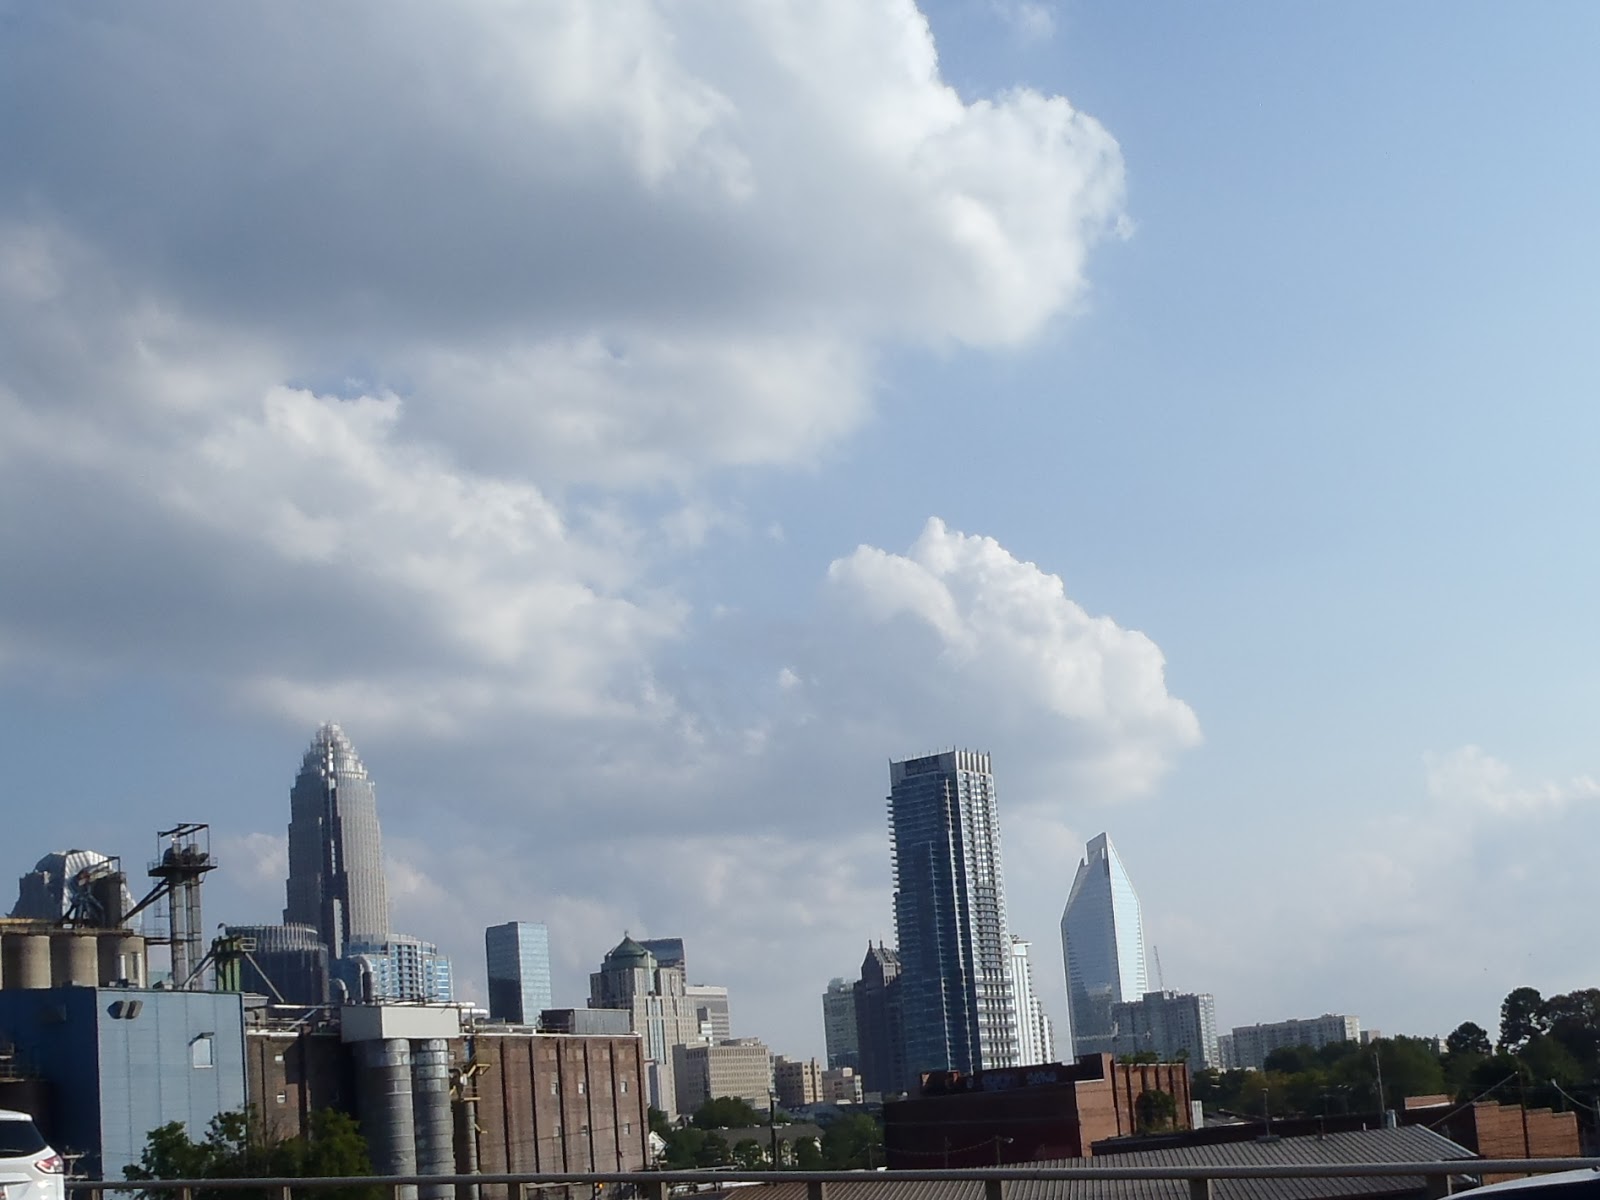
Charlotte is really a very pretty city, but getting a picture 
is not so simple.
Here is a link to some much nicer pictures of the city.
We have a little "tradition" with Aunt Marilyn,
when we get close to Charlotte, we call her and let her know
when we'll be arriving.
Once we get to her apartment, we pick her up to go
to The Landmark Restaurant 
for dinner.
We let Monica know when we were arriving and she met 
us for dinner too.
Here is a not so clear picture of 
Aunt Marilyn and Monica at dinner.

Thanks for coming along on our trip south.
Next time I'll tell you a little bit about 
Charleston, South Carolina.

Visit Kristie Kreates again soon,
you never know what I'll be posting about.

Wednesday, September 2, 2015

Dragon Egg Technique Fix #4

Hi friends!
Here is #4 in my altered frames series.
Today I'm showing you 3 different frames.
All these frames are done using what my son's girlfriend,
Sara, has named the Dragon Egg Technique.
She says this effect looks like a dragon's egg.
I forgot to take a picture of this one before I did the 
altering, so I took a picture from the back to show 
basically what it looked like.
Got this one at Savers.
Here's a metal frame I picked up at 
Salvation Army.
I actually liked the look of this one, if only that 
trim hadn't seen better days.
And this little frame was a steal at only $.29 
at Salvation Army.

For all these frames I used alcohol inks from Ranger
along with their Blending Solution.
I used an Alcohol Ink Applicator and dropped the alcohol inks
onto the felt pad. 
While the ink is fresh and still wet, I pounced the 
applicator onto the metal.
I continued to pounce, twisting and turning the 
applicator, until the entire frame was covered.
When I saw that I wasn't adding color any longer,
I added more ink.
The Blending Solution can also revitalize the ink
if it becomes dry.
One of the things I love about using alcohol inks on metal
is that if I don't like how it turns out, or I change my mind 
about the color, all I need to do is squirt on some of
the Blending Solution and it cleans the ink right off and
I can start again.
However......
I did love how this turned out.
I put a picture of my brother and sister in law in this
one for Jaryd.
Notice that originally the frame was vertical,
once I took that trim off, it worked perfectly for
a horizontal picture.
This frame used the same technique with reds and gold
alcohol inks.
In this frame I put pictures of 
(from upper left going clockwise)
Jaryd with his best friend Brian, My Mom,
Me with my Aunt Marilyn and 
finally Jaryd with our daughter Kelsie 
And last, but not least, I put a picture of our dog
Molly in my little $.29 frame.
I used the reds on this one also.

When Jaryd saw these frames he said
"Oh I see you used alcohol inks on these frames."
What 23 yr old guy knows that?
My son, of course!
He remembers everything.
I don't even remember telling him or
showing him alcohol inks.
I think these did turn our pretty cool.
What do you think?
Leave me a comment and let me know
how you like them and if you've ever worked with 
alcohol inks.

Thanks for stopping by today.
Come again soon.
Until next time, Happy Crafting!


Saturday, August 29, 2015

Argyle frame Fix #3

Hello everyone!
Here is another in my series of 
"fixed frames"
This frame is one I picked up at one of the thrift shops
in my area.  Haven't a clue which one, but I know it was 
cheap.  It originally had a mirror in it, which, of course,
I just popped out.
Since I'm a scrapbooker and like most of us, I have quite
a stash of paper, finding something to cover it with
was no problem.  Because of course this plain black
just wasn't going to work.
I started by laying the frame onto the back of the paper.
I drew lines from corner to corner in the opening, 
so I would know where to cut.
I also marked the corners with cut lines.
Then the fun began.
I brushed on the Mod Podge, covering the entire
front of the frame.
Then I flipped over the frame onto the paper and 
stuck that baby down.
I turned the frame over and made sure the paper 
was smooth over the entire front of the frame.
I then cut on the cut lines that I had drawn.
When I folded the paper over, the corners weren't totally covered,
to remedy that I simply took small pieces of paper and covered the
corners before Mod Podging it.
Here is what the back ended up looking like once 
I got that paper all glued down.
On the corners, I cut those cut lines and neatly folded 
over the edges and glued them down.
I then covered the front, sides and back with a few coats of 
Mod Podge and the frame was finished.
Well except for putting the saw tooth hanger
on the back and cutting the glass.
Luckily, my hubby is a photographer and custom framer
and we have lots of hangers and scrap pieces of glass.
Here it is finished with a picture of Jaryd and Sara with 
my Mom. 
I think it turned out great.
What do you think?

Thanks for stopping by today.
Come again soon and see what else I've been up to.
I'll be posting more in my
"fixed frames" series
as well as some other projects .
You never know what I'll be posting about,
so pop in now and then.
Who knows what you'll find.

Have a better than average day!