My Other Pages

To make it easier to read about our trip to Ireland, I have made a page that is just for that. There is a tab above for Ireland Trip 2014 or click on the Home tab to read my other posts. I have also created a new page for My Weight Loss Journey if you are interested in that, click on the tab above.
Showing posts with label sympathy card. Show all posts

Wednesday, May 17, 2023

Embossing 2 ways

Hello and welcome!
Today I have a couple cards to show you.
They were both made with the same embossing folder
using 2 different techniques.
This first one, I simply embossed a piece of 
white card stock with the embossing folder,
added a little bird that I cut out free hand
and layered it onto black card stock.
Then added it to a white card base.
Very clean and simple.
For this second card, I used the same folder.
I inked up the raised side of the folder and
ran it through my Cuttlebug with white card stock.
By inking up the raised design, you get a letterpress look
with the ink going into the embossed areas.
If you want the background to be colored and the impression
white, do the opposite and ink up the smooth side
where there is an impression in the folder.
I again made this a very clean and simple card.
I do love experimenting with embossing folders
and different inks and colors.  Sometimes to get a subtle
look you need to run it through with one piece of card stock
then again with another piece without reinking the folder.
Play with it and see what you can come up with.

Thanks for stopping by today.
 I hope you have been inspired in some way.
Come again soon,
until then,
play with ink.


Friday, March 31, 2017

With Sympathy

Hello crafting friends!
I recently had to make another sympathy card.
Here is the card I made,
simple and elegant.
The image was stamped with 
onto white card stock.
I then cut it to size and sponged it with
The image and the sentiments are from the 
from Cas-ual Friday Stamps.
The embossed piece was made using
a damask embossing folder and my Cuttlebug
I borrowed the folder from a friend and don't know
which company it was from.
There are many available online or in stores.
I also sponges Faded Jeans ink onto the
card base before adhering the front panel.
The ribbon and the pearl accents pull the card 
together nicely.
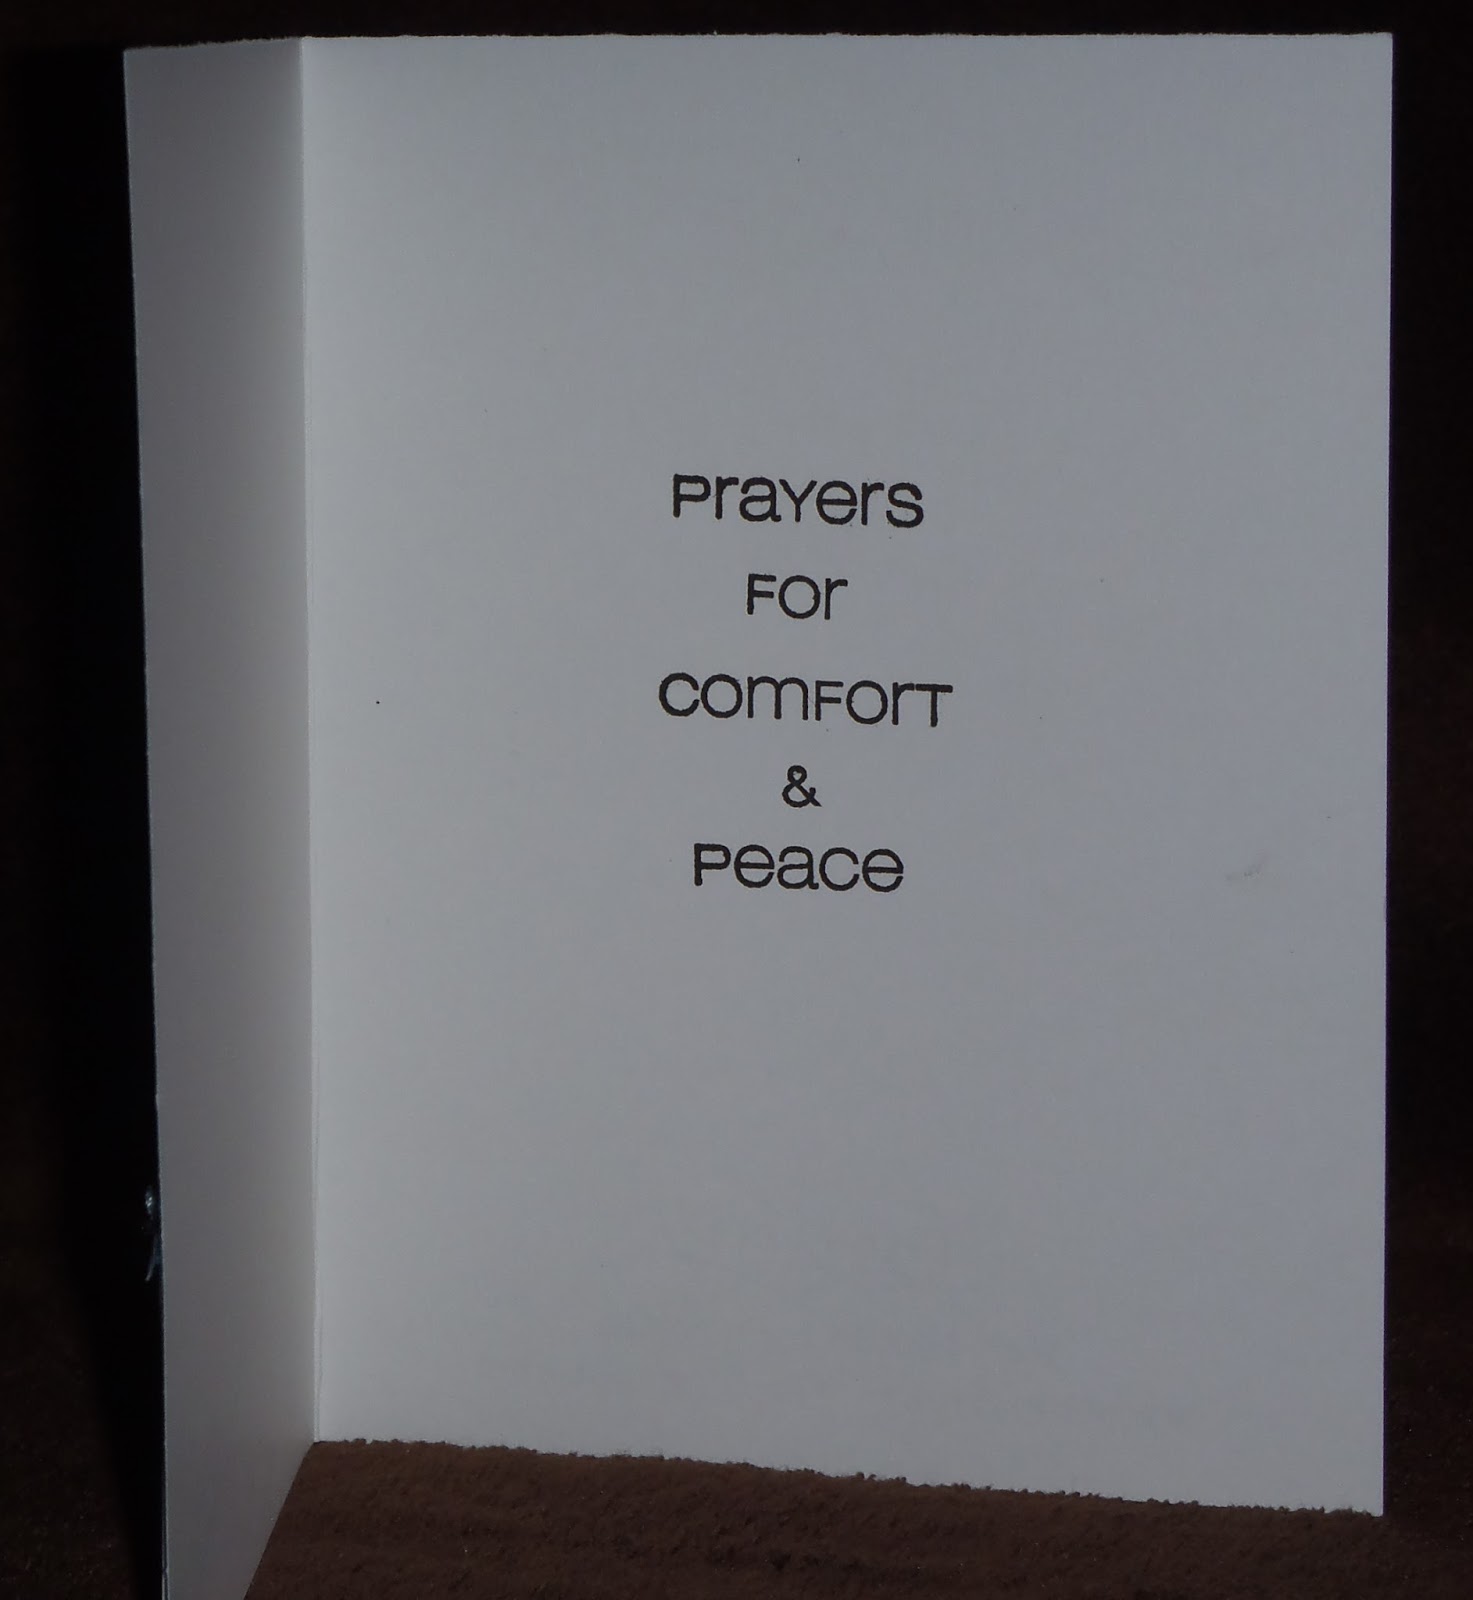
I kept the inside simple also and created this
sentiment with the Casual Comfort set.
Thank you for stopping by today,
I hope you will come again soon.
Until then,
enjoy spring.


Note the links are only to give a reference so you can
see what the products are.
I didn't necessarily purchase from these sites,
except where specified,
and you may find better prices elsewhere,
I am in no way promoting any particular site.


Friday, July 29, 2016

Sympathy Card

Today I have a sympathy card to show you.
I used a very light purplish color of card stock
for the front panel.
I inked up an embossing folder with purple ink
and ran it through my Cuttlebug with the card stock.
The ink enhanced the embossing.
The flowers and leaves were made with a pretty old
layered stamp set from Stampin Up.
I hadn't used the set before as I didn't have a clue
how I would line the layers up and get it right.
With the MISTI stamping tool, it was much easier,
but I also have to say it would have been even easier 
if the stamps had been clear acrylic rather than red rubber.
I used only one color of ink on the flowers and the leaves.
Using multi layers of the same color just intensifies the color
and gives the look of having different colors.
I fussy cut the flowers and leaves and adhered them to the
embossed panel.  One flower is adhered directly to the panel
and one was adhered with foam tape.
Here is the final card.
The sentiment was printed from my computer and 
trimmed down, adhered to a piece of the same purplish 
card stock and trimmed with a very narrow mat.
Here is a close up of the embossing and the dimension
of the flower.
I sometimes struggle with sympathy cards, as many do.
I know the family receiving this card will appreciate it.

Thanks for stopping by today,
I hope you'll come by again soon.
Until then, create something wonderful!

Wednesday, June 29, 2016

Sympathy cards


Sadly, I have needed some sympathy cards recently.
I didn't have a sentiment that was exactly what I wanted and
decided on "Just a note..." from Eureka Stamps
This way I could write my message inside the card.
These cards could easily be used for any type of note.
I stamped the poppy image from
onto watercolor paper and used my watercolor
crayons to color them.
I have both Lyra and Neo Color water color crayons 
and love them both.
The difference doesn't show up a great deal
in the pictures, but I tried using different combinations
of reds, oranges and purple to color the flower
and a few greens for the rest.
I fussy cut the flowers and adhered them to 
a blue background paper,
then onto the white note card.
I varied the size of the card a little bit
and I like how they both turned out.
Sometimes simple is best.

Thanks for stopping by today,
Until next time, make something beautiful.